
Wildlife Photography Tips for Capturing Animals in Their Natural Habitat
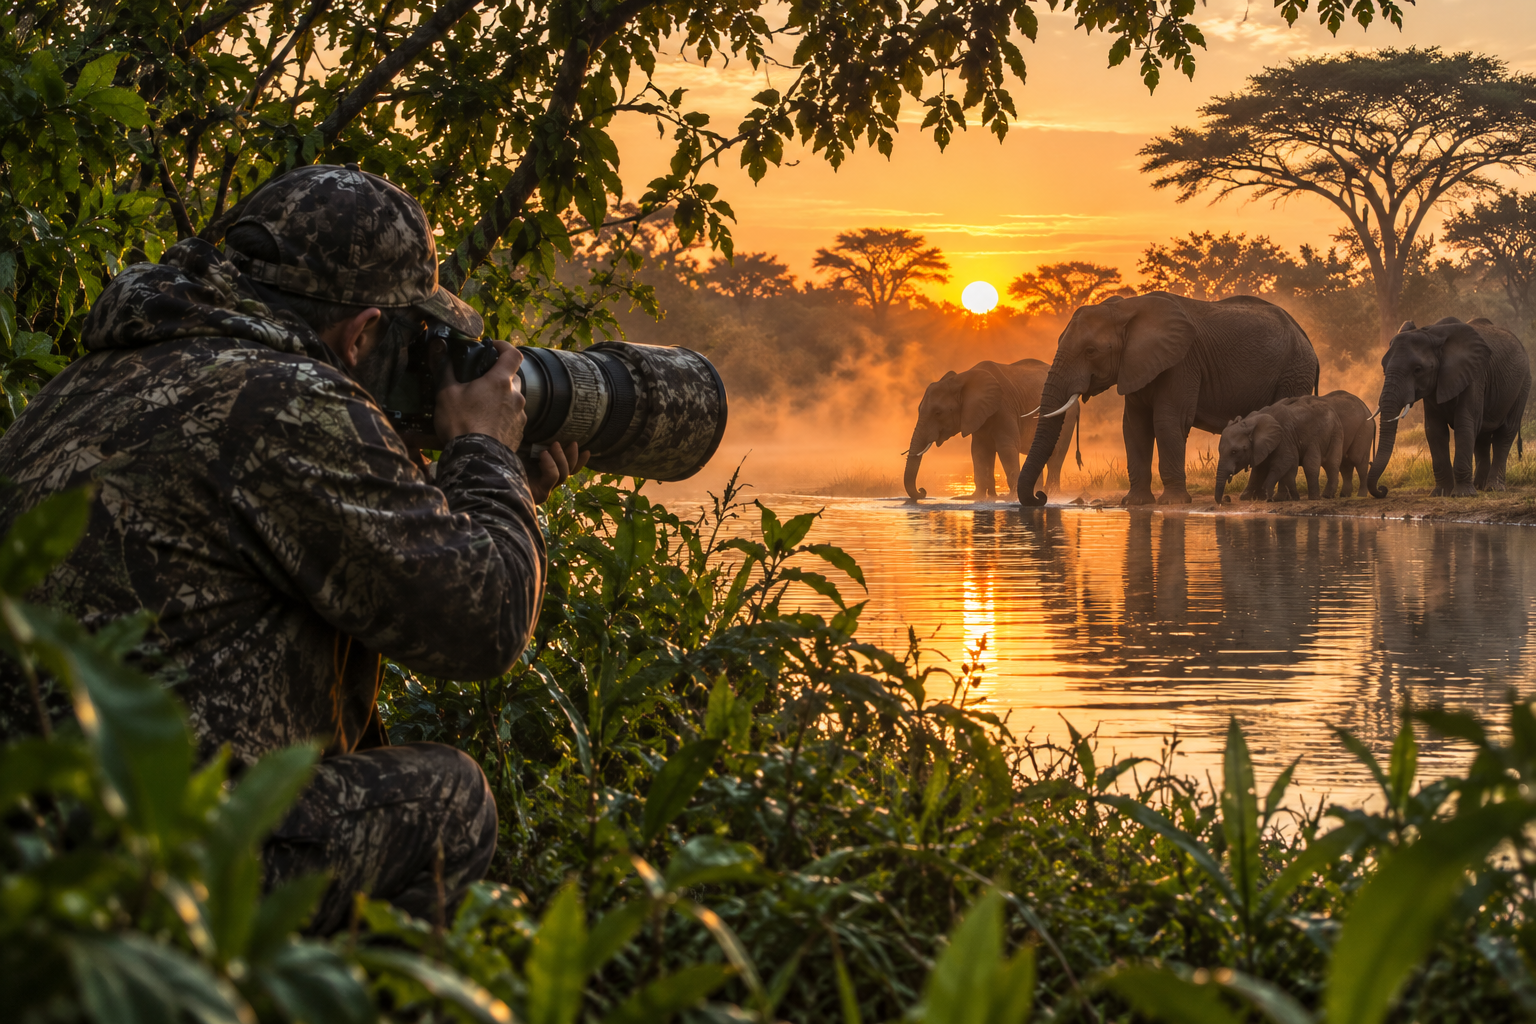
Wildlife photography is one of the most thrilling, challenging, and rewarding genres in the visual arts. It seamlessly blends a passion for environmental conservation with the technical mastery of camera craft. Capturing an animal in its purest, most authentic state requires far more than simply carrying a modern camera into the wilderness. It is an immersive journey of observation, deep connection, unwavering patience, and profound respect for natural ecosystems.
Unlike studio portraiture or urban photography, where lighting and subjects can be controlled, the natural world is inherently unpredictable. A deer might step through the trees for only a fraction of a second, a bird of prey may take flight without warning, or a big cat might remain perfectly still in tall grass for hours. Transforming these fleeting encounters into striking, emotionally resonant images demands a refined set of practical skills and field techniques.
Below is a comprehensive guide packed with actionable strategies to help you elevate your technical skills, choose the right gear, and photograph wildlife in its natural habitat—all while prioritizing animal welfare and ethical practices.
1. Understand Animal Behavior: The Key to Anticipating the Moment
The secret shared by master wildlife photographers does not lie solely in expensive lenses, but in a deep understanding of animal biology and behavior. Long before you strap on your boots and head out to the trail, invest time in researching the species you hope to photograph.
Knowing a species’ daily routine—such as their feeding schedules, watering spots, and preferred resting areas—drastically increases your chances of being in the right place at the right time. Furthermore, learning to read animal body language is crucial both for predicting dynamic action and ensuring your safety in the field.
-
Signs of stress: If an animal freezes, pins its ears back, turns its head abruptly toward you, or utters warning calls, you are too close. Step back slowly to relieve the pressure.
-
Anticipating action: Birds often crouch slightly or relieve themselves moments before taking off. Mammals will frequently stare intently in a direction before moving forward.
-
Habitat patterns: Pay attention to seasonal vegetation and fruiting trees. Feeding locations are natural magnets for a wide variety of wildlife.
2. Gear Selection: Telephoto Lenses, Bodies, and Stabilization
While artistic vision guides your photography, wildlife environments present physical demands that require specialized equipment to keep a safe distance from your subjects.
The Power of Telephoto Lenses
To capture fine details like feather textures or eye reflections without frightening the animal, long focal length lenses are essential. Telephoto lenses ranging from 300mm to 600mm are industry standards. Telephoto zoom lenses (such as 100–400mm or 150–600mm) offer exceptional versatility, allowing you to reframe quickly if an animal approaches or moves away.
Camera Speed and Autofocus Systems
Your camera body should feature a fast continuous shooting speed (measured in frames per second, or FPS) to capture split-second action sequence bursts. Modern mirrorless camera bodies feature advanced autofocus algorithms with Animal Eye Tracking (Animal Eye AF), ensuring that the subject’s eye stays razor-sharp even while moving through dense environments.
Stabilization Support Tools
Holding heavy telephoto gear for extended periods leads to arm fatigue and camera shake. Using a sturdy tripod paired with a gimbal head allows for smooth tracking of moving animals. In situations where tripods are impractical, such as shooting from a safari vehicle, using a bean bag rested on a window ledge provides a stable, rock-solid platform.
3. Master Technical Settings for Razor-Sharp Images
In nature photography, the difference between a portfolio-worthy shot and a blurry throwaway is a matter of milliseconds. Dialing in your camera settings before an encounter begins ensures you are ready to react instantly.
-
High Shutter Speed: To freeze fast action like flying birds or running mammals, set your shutter speed between 1/1000s and 1/2500s. For stationary subjects at rest, a speed around 1/400s is usually sufficient.
-
Wide Aperture: Shooting at wide apertures (such as f/2.8, f/4, or f/5.6) allows more light to reach the sensor and creates a shallow depth of field. This softens distracting foliage and yields a smooth background blur (bokeh) that makes the subject pop.
-
Auto ISO with Minimum Shutter Speed: Set your camera to Auto ISO while defining a minimum shutter speed threshold. As light shifts rapidly between open sunlight and forest shade, the camera will adjust ISO automatically to preserve correct exposure without sacrificing shutter speed.
4. Composition and Lighting: Crafting Images with Emotional Impact
Simply taking a snapshot of an animal results in a plain documentary image. To produce compelling wildlife art that evokes emotion, pay careful attention to lighting and composition choices.
Get Down to Eye Level
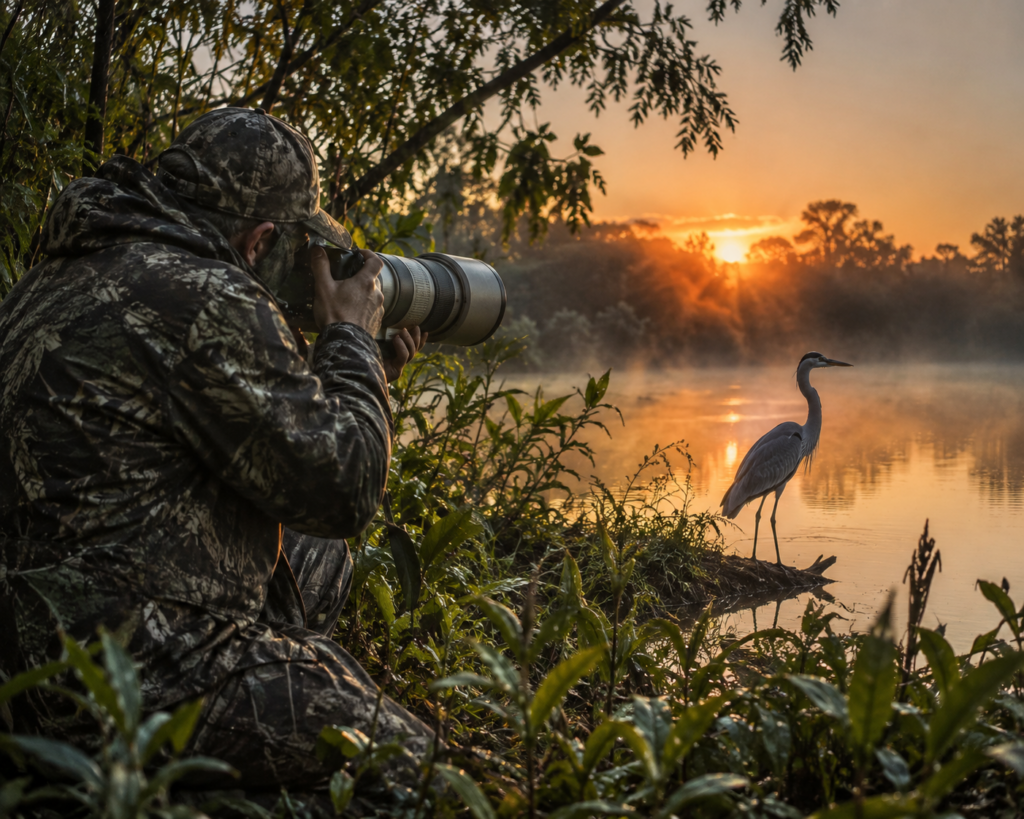
One of the most common beginner mistakes is taking photos while standing up, looking down at the subject. By kneeling, crouching, or lying flat on the ground to bring your lens level with the animal’s eyes, you fundamentally alter the perspective. This creates an intimate connection between the viewer and the animal while separating the subject dramatically from both foreground and background.
Harness the Golden Hours
Harsh midday sunlight creates unpleasant shadows and washes out details on fur or plumage. Aim to shoot during the “golden hours”—the first hour after sunrise and the last hour before sunset. The soft, directional golden light adds warmth, rich texture, and depth to your wildlife portraits.
Embrace Environmental Portraits
Not every photo needs to be a tight close-up of an animal’s face. Environmental portraits—shots that incorporate surrounding landscape elements—tell a broader story about where and how the subject lives. Remember to apply the rule of thirds and leave negative space in the direction the animal is moving or looking.
5. Camouflage, Wind Direction, and the Art of Patience
Wildlife species possess keen senses of smell, sight, and hearing that easily surpass human capabilities. Getting close enough for a clean shot requires stealth and careful fieldcraft.
-
Pay Attention to Wind Direction: This is a vital detail often overlooked by beginners. Always approach animals downwind (meaning the wind should blow from the animal toward you). If the wind blows from behind you toward the subject, your scent will alert them long before you arrive.
-
Wear Neutral Attire: Avoid bright colors or rustling synthetic fabrics. Opt for earth tones such as olive green, brown, or tan. When staying in one location, using camouflage netting or pop-up blinds helps you blend into the scenery.
-
Exercise Unwavering Patience: Wildlife photography is largely a game of waiting. You will often spend hours waiting without seeing any movement. Remaining quiet, still, and alert is the single most valuable trait a nature photographer can cultivate.
6. Ethical Wildlife Photography: Respect Comes First
No photograph, regardless of how rare or striking it might be, is worth distressing an animal or damaging its habitat. Ethical wildlife photographers act as guardians of nature.
Always practice “Leave No Trace” principles. Never offer food or bait to lure predators or alter natural hunting behaviors. Minimize the use of recorded bird calls (playback) during nesting seasons, as this drains energy that parents need to raise their chicks.
If an animal exhibits signs of distress, interrupts its natural feeding, or changes its behavior due to your presence, step back and give it space. The welfare of the wildlife must always take priority over getting the shot.
Wildlife Photography- Conclusion
Photographing wildlife in its natural habitat is a transformative experience. It requires a harmonious blend of technical expertise, artistic vision for light and composition, and a genuine commitment to environmental conservation.
By mastering your equipment settings, studying animal behavior, and practicing ethical fieldcraft, your images will gain technical sharpness and deep narrative meaning. Pack your gear, step out into the field with patience, and capture the untamed beauty of the natural world.
Frequently Asked Questions (FAQ)
What is the best lens focal length for beginner wildlife photographers?
A telephoto zoom lens in the 70–300mm or 100–400mm range is ideal for beginners. These lenses offer excellent reach, portability, and versatility without the extreme weight or cost of prime super-telephoto lenses.
How do I capture sharp photos of fast-moving animals?
Use a high shutter speed (1/1500s or faster), activate continuous autofocus mode (AF-C or AI Servo) paired with animal tracking, and shoot in continuous high-speed burst mode.
Do I need an expensive camera body to take great wildlife photos?
No. While high-end bodies feature faster autofocus and higher frame rates, entry-level or mid-range cameras paired with a quality telephoto lens and solid field technique can produce breathtaking results.
Is it safe to use a camera flash when photographing animals at night?
Camera flash should be used with extreme caution to avoid startling or temporarily blinding nocturnal species. Whenever possible, use diffused low-power settings, or rely on higher ISO values and fast ambient lenses instead.