
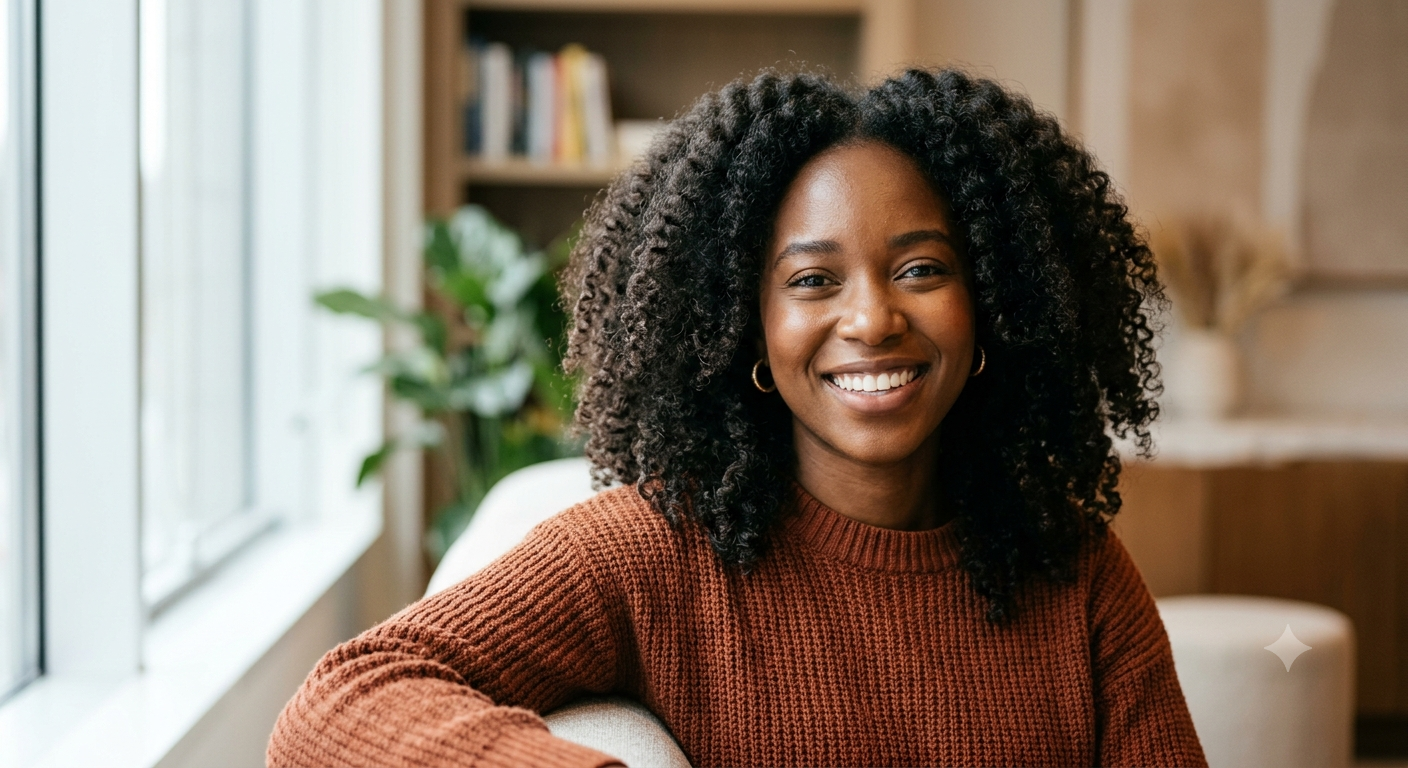
Portrait Photography Tips: How to Capture Professional-Looking Images
Portrait Photography Tips: How to Shoot Professional Portraits
Taking a photo of someone is incredibly easy; anyone with a modern smartphone can do it in a matter of seconds. However, capturing a professional-looking portrait—the kind that instantly grabs the viewer’s attention, conveys genuine emotion, and looks like it belongs on the cover of a magazine—requires a blend of technique, sensitivity, and planning.
Portrait photography goes far beyond simply pointing the camera and pressing the shutter button. It is about your ability to connect with your subject, understand how light behaves on human features, and master your camera settings to seamlessly isolate your subject from the background.
Whether you are an enthusiastic hobbyist looking to take better photos of your family or an aspiring professional stepping into the photography market, this practical guide compiles the best portrait photography tips to transform your everyday snapshots into powerful, professional-grade images.
1. The Power of Connection: Building Trust with Your Subject
Before you adjust a single setting on your camera, the absolute most critical element for a successful portrait is psychology. A subject who feels tense, self-conscious, or awkward will inevitably produce photos with forced expressions, stiff posture, and dead eyes.
To capture a person’s true essence, you must establish a comfortable relationship built on trust. Here is how you can do that naturally:
-
Talk before you shoot: Dedicate the first 10 to 15 minutes of your session to casual conversation. Understand your subject’s personality, find out what makes them laugh, and align your creative goals for the shoot.
-
Offer constant positive feedback: Keep talking while you shoot. Provide continuous encouragement with phrases like “that looks amazing,” “perfect posture,” or “your expression right there was incredible.” This keeps their self-confidence high.
-
Show off the back of the camera: Every now and then, show them a few beautiful raw shots on your camera screen. Seeing themselves look great early on helps them relax completely and encourages them to experiment more freely with their poses.
2. Choosing the Perfect Lens for Portraiture
While you can technically shoot a portrait with any lens, specific focal lengths help create that coveted professional aesthetic characterized by realistic facial proportions and a beautifully blurred background.
Prime Lenses vs. Zoom Lenses
For portraiture, prime lenses (lenses with a fixed focal length) are the undisputed favorites of professionals. They offer unmatched sharpness and feature much wider maximum apertures (such as $f/1.8$ or $f/1.4$), which are essential for melting away distracting backgrounds.
The Best Focal Lengths Explained
-
50mm: Often referred to as the “nifty fifty,” the 50mm lens is affordable, extremely sharp, and mimics a perspective very close to what the human eye sees. It is excellent for half-body portraits and environmental shots.
-
85mm: The true industry standard for head-and-shoulder portraits (close-ups). An 85mm lens creates fantastic background compression and does not distort facial features, yielding an incredibly flattering look.
-
105mm or 135mm: Exceptional choices for beauty, fashion, and tight portraits from a comfortable distance. These focal lengths offer an incredibly creamy background blur (bokeh) and absolute isolation of the subject.
3. Mastering Your Camera Settings
To gain full creative control over your portraits, you must step away from automatic mode. Setting your camera manually allows you to dictate exactly what remains in sharp focus and how soft the background will appear.
| Setting | Recommendation for Portraits | Visual Effect |
| Exposure Mode | Aperture Priority (A/Av) or Manual (M) | Gives you direct control over depth of field and light intake. |
| Aperture | Wide open ($f/1.8$, $f/2.2$, $f/2.8$) | Creates a shallow depth of field, producing beautiful bokeh and isolating the subject. |
| Focus Mode | Single Point AF (aimed directly at the eye) | Ensures the subject’s eyes are razor-sharp. |
| Shutter Speed | Minimum of $1/160\text{s}$ or faster | Eliminates blur caused by hand shake or the subtle movements of your subject. |
| ISO | Lowest possible (ISO 100 to 400) | Minimizes digital noise (grain), keeping the skin tones clean and detailed. |
4. Understanding and Controlling Light
Lighting is the ultimate differentiator between an amateur snapshot and a professional portrait. Your goal should be to create depth, dimension, and volume on your subject’s face, avoiding flat, washed-out lighting or overly harsh shadows.
Window Light (The Ideal Soft Diffuser)
If you don’t own expensive studio strobe lights, position your subject next to a large window. The incoming light is naturally filtered by the glass and bounced around the room, creating incredibly soft shadows and gradual transitions that flatter skin textures and highlight the natural bone structure of the face.
Dramatic Directional Light (Rembrandt Lighting)
Named after the legendary Dutch master painter, this classic portrait lighting technique involves placing your light source at a 45-degree angle to the side and slightly above your subject. This illuminates one side of the face while casting a characteristic small triangle of light on the opposite cheek. It is a timeless setup that brings sophistication, depth, and drama to any portrait.
Manage Harsh Midday Sun
Avoid shooting under direct midday sunlight without a diffuser. High-overhead sun casts unflattering, dark shadows under the eyes and nose (often called “raccoon eyes”). If you must shoot outdoors during these hours, move your subject into open shade—such as under a tree canopy or in the shadow of a building—where the light is even, soft, and easy to work with.
5. Composition Techniques for High-Impact Portraits
A thoughtful composition guides the viewer’s eye straight to your subject, stripping away distractions and establishing visual harmony within the frame.
Simplify Your Background
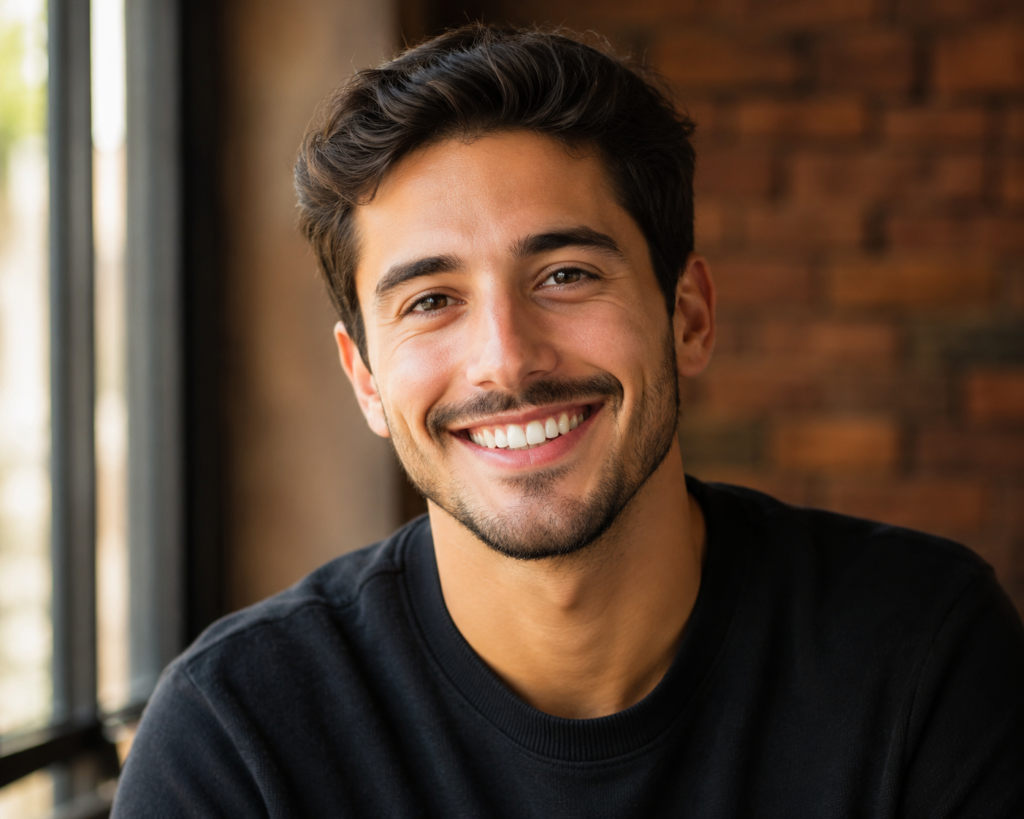
One of the most common mistakes beginners make is focusing so intently on the subject that they forget to look at what is behind them. A tree branch that looks like it is growing out of your subject’s head, bright distracting colors, or trash cans in the background can easily ruin a shot. Seek out clean, neutral backgrounds with pleasing textures like brick walls, soft foliage, or concrete surfaces.
Use Leading Lines and Natural Frames
Incorporate elements of your environment to direct attention to your subject. Tree branches, urban architecture, doorways, or windows can act as natural frames within your shot, adding layers of depth, context, and visual intrigue.
Leave Room for the Eyes (The Rule of Space)
When framing a subject who is looking off-camera, make sure to leave more empty space in the direction they are looking than behind their head. This “look room” or “lead room” creates a sense of curiosity, gives the subject breathing room, and prevents the composition from feeling claustrophobic.
6. The Art of Natural Posing and Direction
For the vast majority of people, standing in front of a camera lens is a highly intimidating task. It is your job as the photographer to guide them with clarity, patience, and warmth, steering clear of stiff, artificial poses.
-
Ditch the “Say Cheese” Command: Instead of demanding a forced smile, actively engage with them. Ask them about a favorite memory, tell a lighthearted joke, or ask them to mimic an exaggerated expression to capture a genuine, radiant laugh.
-
Embrace Movement: Ask your subject to walk slowly toward you, adjust their hair, play with their collar, or look away and quickly turn back to look into the lens. Incorporating movement breaks physical tension and yields highly authentic, candid photographs.
-
Mind the Joints: A fundamental rule of posing is to avoid cropping people’s limbs directly at the joints. Avoid cropping your images right at the knees, elbows, wrists, or ankles. Instead, always crop through the middle of the limbs (such as mid-thigh or mid-arm) to keep the proportions looking natural.
Portrait Photography- Conclusion
Mastering portrait photography is a creative journey that beautifully marries technical precision with human connection. By consistently applying core portrait photography tips—such as using wide apertures for dreamy background blur, controlling light directions, and keeping your focus locked sharp on the eyes—you will witness an immediate and drastic improvement in your work.
However, never forget that camera settings are merely a tool to support human interaction. The most powerful, professional portraits are always those that manage to reveal a glimpse of the subject’s vulnerability, strength, or genuine joy. Get out there, practice with friends or family, explore different qualities of light, and discover your own unique visual style.
Portrait Photography- Frequently Asked Questions (FAQ)
What is the best aperture for shooting portraits?
For individual portraits, wide apertures like $f/1.8$ to $f/2.8$ are ideal because they create a shallow depth of field that blurs out the background, keeping all focus on your subject. If you are shooting group portraits, close down your aperture to $f/4$ or $f/5.6$ to ensure everyone in the frame remains sharp and in focus.
How do I take professional-looking portraits on a smartphone?
Most modern smartphones feature a dedicated Portrait Mode, which uses software algorithms to simulate background blur (bokeh). To get the best results, wipe your lens clean, position your subject near soft, natural light sources (like a window), and avoid using digital zoom. Instead, physically step closer or use your phone’s native telephoto lens if it has one.
Why do my portrait photos look blurry?
This is usually caused by a shutter speed that is too slow. Make sure your shutter speed is set to at least $1/160\text{s}$ to freeze subtle facial movements or slight hand tremors. If you are shooting in low-light environments, compensate for the faster shutter speed by raising your ISO.
Should I use continuous light or a flash (speedlight) for portraits?
Both are excellent options. Continuous lights (like LED panels) are highly recommended for beginners because they allow you to see exactly how shadows and highlights fall on your subject’s face before you ever press the shutter. On the other hand, flash units offer far more raw power and the ability to freeze fast movement, making them a favorite for outdoor and studio professionals.