
6 Common Photography Mistakes Beginners Make (and How to Avoid Them)
Common Photography Mistakes Beginners Make.
Capturing the world through a lens is a truly magical experience. When we purchase our first camera—or decide to explore the advanced capabilities of a smartphone—our expectations soar. We picture ourselves capturing gallery-worthy images right out of the gate. However, reality hits hard the moment we view those photos on a larger screen: blurry details, weird color casts, crooked horizons, and that frustrating feeling that the image simply didn’t turn out the way we saw it.
If you are experiencing this right now, take a deep breath. There is absolutely nothing wrong with your creative potential. Photography comes with both a technical and an artistic learning curve, and making mistakes is an essential part of the process. The secret to progressing quickly isn’t avoiding errors altogether, but understanding why they happen and how to correct them.
In this comprehensive guide, we will analyze the most common photography mistakes made by beginners and provide actionable, practical solutions so you can elevate your photography instantly.
1. Relying Exclusively on Auto Mode
Your camera’s Auto Mode is essentially an artificial intelligence program designed to make safe choices. It analyzes the scene and balances the exposure so nothing turns out completely pitch-black or excessively bright. The problem? The camera lacks artistic sensitivity. It does not know if you want to freeze the lightning-fast movement of a bird or create a beautifully blurred background for a stunning portrait.
The Danger of the “Comfort Zone”
When you let the camera make every decision, you surrender your creative control. In challenging lighting conditions, such as a dramatic sunset, Auto Mode will frequently pop up the built-in flash unnecessarily, completely ruining the natural ambiance of the scene.
How to Avoid It: Master the Exposure Triangle
To truly grow as a photographer, you need to step out of Auto Mode and explore semi-manual modes (like Aperture Priority or Shutter Priority) and, eventually, full Manual Mode. Photographic control rests on three main pillars:
-
Aperture (f-stop): Controls the size of the opening in the lens. It dictates how much light enters the camera and manages the depth of field (how blurry or sharp your background is).
-
Shutter Speed: Determines how long the camera sensor is exposed to light. Fast shutter speeds freeze motion; slow shutter speeds intentionally blur motion.
-
ISO: Measures the sensor’s sensitivity to light. Low values (like ISO 100) are ideal for bright, sunny days. High values (like ISO 3200) help you shoot in the dark but introduce digital noise (grain).
Start by switching your camera dial to Aperture Priority (Av or A). In this mode, you decide how blurry you want your background to be, and the camera automatically calculates the rest. It is your first major step toward technical independence.
2. Ignoring Composition Rules (And Crooked Horizons)
One of the most immediate giveaways of a beginner’s photo is placing the main subject dead center in every single frame, often combined with a slanted horizon line. While centering your subject can work for specific symmetrical shots, most of the time it creates a static, uninspiring image.
Rule of Thirds: Place important elements at the intersections.
+---+---+---+
|   |   |   |
+---*---*---+
|   |   |   |
+---*---*---+
|   |   |   |
+---+---+---+
The Impact of a Crooked Horizon
A tilted ocean that looks like it is pouring out of the side of the frame disrupts the visual balance for anyone viewing the photo. It instantly signals a lack of technical attention, even if the colors and focus are completely perfect.
How to Avoid It: Activate the Grid Lines
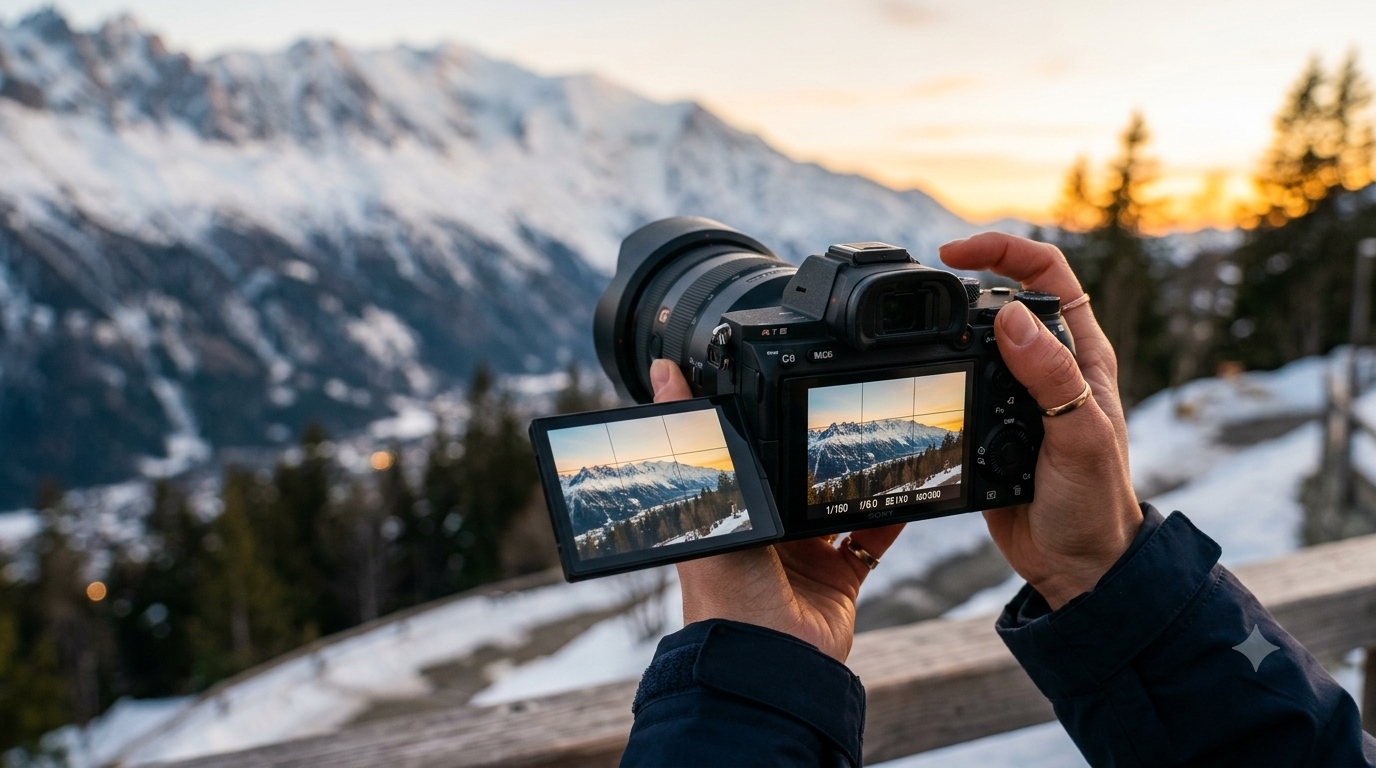
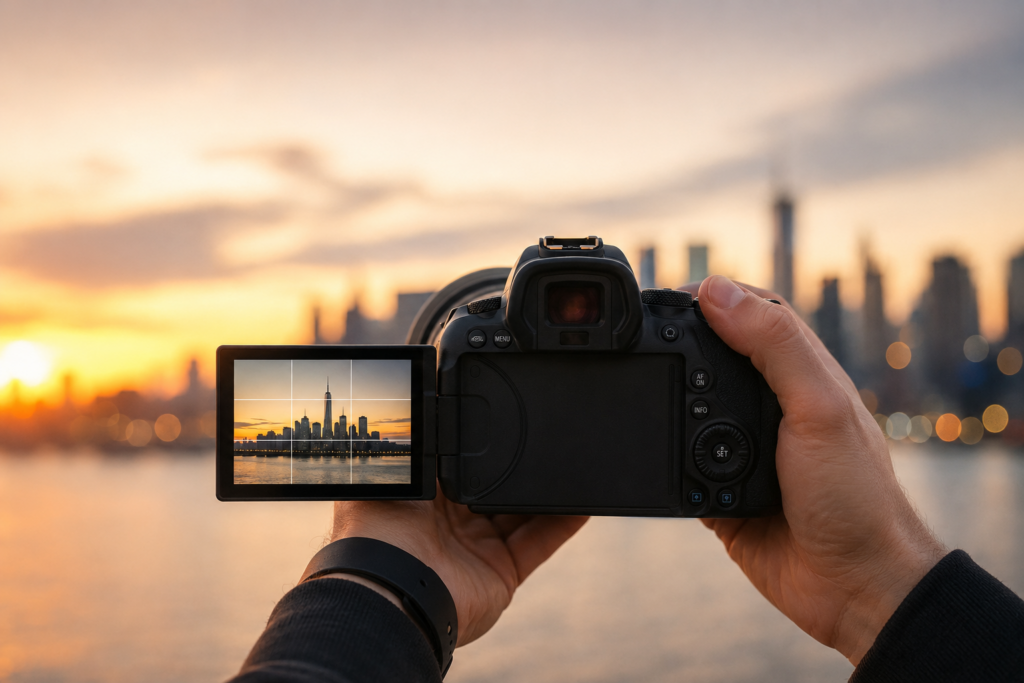
Almost every modern digital camera and smartphone features a built-in “Grid” function. Turn it on immediately. This tool divides your viewfinder or screen into nine equal rectangles.
-
Apply the Rule of Thirds: Position your main points of interest (such as a person’s eyes, a lone tree, or a distant building) along the gridlines or exactly where they intersect.
-
Level Your Horizons: Align the natural horizontal lines of your scene—like the ocean, a mountain range, or architectural elements—perfectly with the grid lines.
3. Blurry Photos Caused by Low Shutter Speed
You take a shot, look at the small LCD screen on the back of your camera, and it looks beautiful. But when you open it on a computer monitor, you realize the details are slightly fuzzy and lack that crisp, professional sharpness. This mistake usually happens due to micro-movements of your hands while clicking.
The Physics Behind Handheld Blur
If your shutter speed is too slow, the camera sensor will record the natural shaking of your body during the exposure. This is incredibly common in indoor environments or during night photography, where the camera slows down the shutter to let in enough light.
How to Avoid It: Respect the Reciprocal Rule
There is a classic rule of thumb in photography to avoid camera shake when shooting handheld: your shutter speed should be at least the reciprocal of your lens’s focal length.
| Lens Focal Length | Minimum Recommended Shutter Speed |
| 18mm | 1/20 of a second |
| 50mm | 1/50 of a second |
| 200mm | 1/200 of a second |
If you are shooting in low-light conditions and must use a shutter speed slower than these recommendations, use a sturdy tripod or place your camera on a flat, stable surface. Additionally, practice proper posture: pull your elbows tightly against your torso to create a stable, human tripod for your gear.
4. Shooting in Harsh and Poor Light
Many beginners assume that a bright, cloudless day at noon offers the perfect conditions for photography because “there is plenty of light.” In reality, this is one of the most difficult and unflattering times to shoot.
The Problem with Midday Sun
Direct vertical sunlight casts deep, harsh shadows right beneath a subject’s eyes (often referred to as “raccoon eyes”) and nose. Furthermore, the intense light blows out the highlights, turning areas of the sky or skin into pure, featureless white and erasing fine textures.
How to Avoid It: Seek Out Soft Light
The quality of your light matters infinitely more than the quantity. To achieve smooth transitions and rich colors, adjust the timing of your photo shoots:
-
Chasing the Golden Hour: This occurs during the first hour after sunrise and the final hour before sunset. The sun sits low on the horizon, creating a warm, directional light with long, soft shadows.
-
Embrace Overcast Days: Clouds act as a massive, natural softbox, diffusing the sunlight and eliminating harsh contrasts. This creates the absolute best lighting conditions for close-up portraits and macro photography.
-
Look for Open Shade: If you absolutely must shoot at noon, move your subject into the shade of a large tree or a building. You will still have plenty of ambient light, but it will be indirect and highly flattering.
5. Forgetting to Check the Background (Background Clutter)
Imagine finding the perfect angle, your subject has a fantastic expression, and the lighting is pristine. Days later, you open the image to edit it and notice a bright green trash can right behind them—or even worse, a street lamp that looks like it is growing directly out of the top of their head.
Photographer’s Golden Rule: The background of an image is just as crucial as the main subject. It should either provide meaningful context or disappear into a smooth blur—it should never compete for attention.
The Trap of Tunnel Vision
Beginners naturally develop “tunnel vision,” focusing entirely on the center subject while completely ignoring the rest of the frame. The camera, however, captures absolutely everything within its field of view without bias.
How to Avoid It: Perform a Visual Scan Before Clicking
Before pressing the shutter button down completely, train your eyes to sweep across the edges and the background of your frame.
-
Shift Your Perspective: Sometimes, taking a single step to the left, right, or dropping down to a lower angle completely alters the background, swapping an ugly distraction for a clean, neutral wall or beautiful foliage.
-
Utilize Wider Apertures: If you cannot escape a cluttered background, use a wider aperture (like f/1.8 or f/2.8) to create a shallow depth of field, rendering the chaotic background into a beautiful, soft blur (bokeh).
6. Over-Editing in Post-Production
Photo editing software (like Lightroom, Photoshop, or mobile editing apps) is a powerful tool designed to enhance what you have already captured well in-camera. A classic beginner pitfall is attempting to “save” a poorly shot photograph by pushing the adjustment sliders to their extremes, resulting in an artificial, unappealing image.
Symptoms of Over-Editing
Tell-tale signs include skies that look radioactive blue, skin textures that look completely plastic due to excessive noise reduction, and an aggressive use of the “Clarity” or “Saturation” sliders that creates weird halos around objects.
How to Avoid It: Practice Moderation and Shoot in RAW
Editing should always be subtle. If the very first thing someone notices about your photo is the heavy filter or the intense editing style, you have gone too far.
-
Switch to RAW Format: If your camera or phone supports it, change your quality settings from JPEG to RAW. RAW files preserve massive amounts of data in the highlights and shadows, allowing you to fix exposure mistakes cleanly without degrading the image quality.
-
Take a Reset Break: Once you finish editing a photo, step away from your screen for a few minutes or close your eyes briefly. When you return with “fresh eyes,” you will immediately spot whether you overdid the contrast or color saturation.
How to Practice and Progress Faster
Identifying these common mistakes is half the battle. The remaining half is training your eye so that correcting them becomes second nature. Do not try to fix all these habits during a single photo shoot. Instead, pick one specific mistake to conquer each time you go out with your camera. Spend an entire afternoon focusing strictly on composition rules; the next weekend, dedicate your time to understanding shutter speeds. Over time, the technical steps will fade into your subconscious, allowing your unique creative vision to take the driver’s seat.
Frequently Asked Questions (FAQ)
What is the single most common mistake beginner photographers make?
The most frequent error is a lack of image sharpness. This is typically caused by incorrect focusing techniques or camera shake resulting from using a shutter speed that is too slow for handheld shooting.
Do I need to buy an expensive camera to avoid these basic mistakes?
Not at all. The vast majority of these errors—such as poor composition, harsh lighting, distracting backgrounds, and over-editing—are tied directly to the photographer’s knowledge and vision, not the price tag of the gear. An experienced photographer using a smartphone will consistently produce better results than a beginner using a professional camera on full Auto Mode.
What is the Rule of Thirds and why does it work?
The Rule of Thirds is a compositional guideline that divides an image into a 3×3 grid. It works beautifully because the human eye naturally gravitates toward the intersection points of these grid lines rather than the dead center of a frame. Utilizing it creates balance, tension, and visual interest.
Why do my indoor photos look way too yellow or blue?
This issue is caused by an incorrect White Balance setting. Different light sources (such as fluorescent bulbs, incandescent lights, or open shade) possess different color temperatures. If your camera’s white balance doesn’t match the environment, it introduces an unwanted color cast. Adjusting your White Balance setting to match your environment will fix the colors instantly.