
How to Take Better Photos with Your Smartphone: The Ultimate Guide
Nowadays, almost everyone carries a powerful camera right in their pocket. Modern smartphones have evolved to the point where they rival professional DSLR cameras in many scenarios. However, owning a high-end device does not automatically guarantee breathtaking images. Have you ever wondered why some people capture spectacular shots with their phones while your photos turn out looking plain or flat?
The difference rarely lies in the price tag of the device; it lies in the technique and the eye of the person behind the lens. Smartphone photography seamlessly blends technical convenience with instant creativity. To help you unlock the full potential of your device, we have put together this comprehensive guide. We will explore everything from simple adjustments that change everything to composition rules and lighting tricks that will transform your everyday snapshots into true works of art.
Know Your Phone Camera: The Crucial First Step
Before you start capturing your moments, the most frequently overlooked step—and ironically, one of the most important—is preparing your physical equipment. We spend all day with our phones in our hands, placing them on various surfaces, in pockets, and inside bags. This means your camera lens is constantly covered in fingerprints, dust, and natural skin oils.
A dirty lens diffuses light incorrectly, creating a hazy look or unwanted light streaks in your images. Get into the habit of wiping your camera lens with a soft cotton shirt or a microfiber cloth before taking any photo. The immediate boost in image clarity and contrast will surprise you.
Additionally, take some time to explore the native settings inside your camera app. Ensure that your resolution is set to the maximum allowed by the sensor. Disable automatic beauty filters that smooth out natural skin textures, and turn on the HDR (High Dynamic Range) feature. HDR helps your phone’s sensor balance the brightest and darkest areas of the same photo, ensuring that the sky doesn’t turn entirely white and the shadows don’t turn into pitch-black blobs.
Master Natural Lighting and Ditch the Flash
Light is the raw material of photography. Without good lighting, even the most expensive camera on the market will produce grainy, muddy images. When it comes to smartphones, which feature physically smaller sensors than DSLR cameras, the quality of your light source becomes even more critical.
The best light source available to you is completely free: the sun. However, not all sunlight is created equal. Avoid shooting at midday when the sun is directly overhead. This casts harsh, dark shadows beneath the eyes and nose, and easily overexposes skin tones. Instead, take advantage of the Golden Hour—the first hour after sunrise and the last hour before sunset. During this time, the light is soft, diffused, and carries a warm tone that flatters any portrait or landscape.
Pro Tip: Avoid using your phone’s built-in flash whenever possible. Smartphone flashes emit a harsh, direct, cold light that flattens facial features, creates red-eye, and overexposes the foreground while leaving the background completely dark. If you are in a dark setting, seek alternative light sources, such as the glow from a shop window, a streetlamp, or even a friend’s phone flashlight aimed from the side through a napkin to soften the light.
Turn On Grid Lines to Improve Your Composition
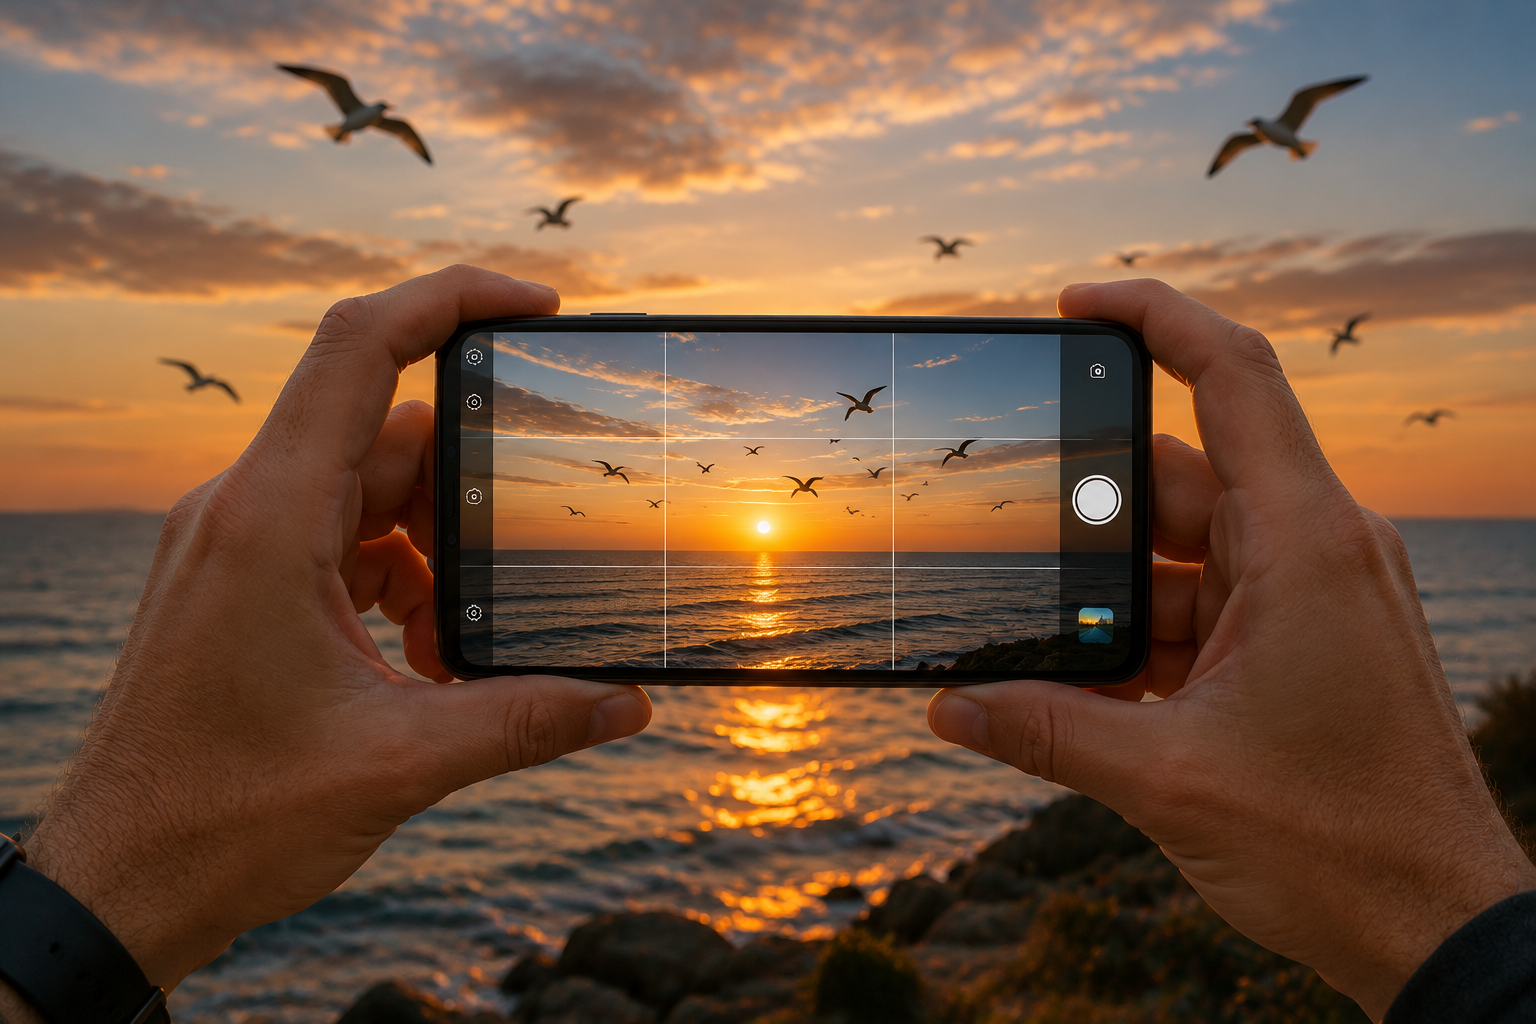
Composition is how you arrange elements within your phone screen. A photo with beautiful colors will lose its impact if the main subject is placed awkwardly or if the horizon is tilted. To fix this instantly, open your phone’s camera settings and turn on Grid Lines.
This feature divides your screen into nine equal rectangles, allowing you to apply the famous Rule of Thirds. The secret here is to place the most interesting elements of your photo (such as a person’s eyes, an isolated tree, or a setting sun) at the intersections of these lines—often referred to as “power points.”
-
For Landscapes: Align the horizon along the bottom horizontal line (to emphasize the sky) or the top horizontal line (to highlight the ground or sea).
-
For Portraits: Position the person’s face or eyes at the upper intersection points to create a balanced, professional look.
Furthermore, use these grid lines to ensure your photos aren’t tilted. An unintentionally crooked horizon disrupts the harmony of the image and pulls the viewer’s attention away from the subject.
Take Control of Focus and Exposure Manually
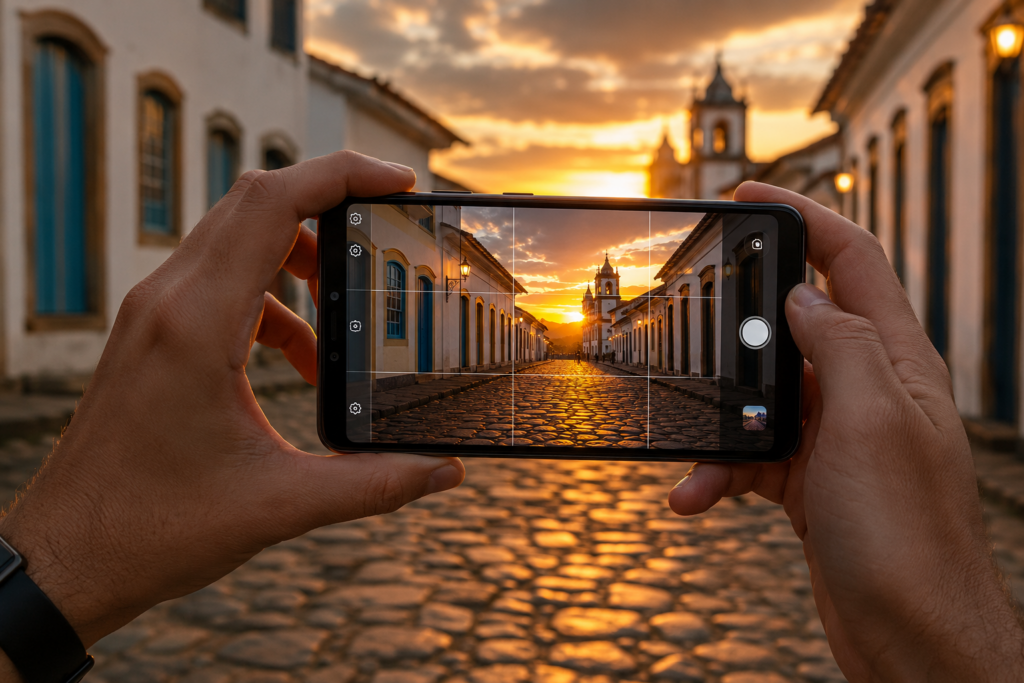
Most people simply open their camera app, point, and shoot, leaving it up to the phone to decide what to focus on and how much light to let in. While smartphone artificial intelligence is incredibly advanced, it doesn’t know your artistic intent.
To take back control, tap your screen exactly where you want the focus to be. This forces the camera to lock its focus on that specific point. When you tap, you will notice a small sun icon (or a slider bar) appear next to the focus box.
Slide your finger up or down to adjust the exposure manually:
-
Slide down: Darkens the image. This is excellent for preserving the rich details of a vibrant sunset or creating dramatic silhouettes.
-
Slide up: Brightens the scene. This is useful for slightly dark indoor settings, though you should be careful not to overexpose the bright areas.
If you tap and hold the screen for a couple of seconds, you will activate the AE/AF Lock (Auto Exposure/Auto Focus Lock). This prevents the phone from changing your settings if someone walks across the frame or if you shift your position slightly.
Use Optical Zoom or Move Closer to Your Subject
One of the biggest quality killers in smartphone photography is the indiscriminate use of digital zoom. When you pinch the screen to zoom in on a distant object, you aren’t actually zooming with the lens; you are simply cropping the image and stretching the pixels. This results in pixelated, noisy, and blurry photos.
Many modern smartphones come equipped with multiple rear lenses (such as Ultra-wide, Main/Wide, and Telephoto). If your phone has a telephoto lens (usually indicated by 2x, 3x, or 5x in the app), use it. This is optical zoom, which utilizes physical lenses to bring the subject closer without sacrificing image quality.
If your phone does not have an optical zoom lens, follow a simple golden rule: use your feet as your zoom. Physically walk up to the object you want to photograph. Moving closer preserves the maximum resolution of your sensor and forces you to interact closely with your environment, often revealing angles you would have missed from afar.
The Power of Subtle Post-Processing
Taking the photo is only half the journey. Editing is where you add your personal touch and correct minor flaws that the camera sensor couldn’t quite translate. However, the goal of editing should always be to enhance the natural beauty of the photo, not to mask it under heavy filters and unrealistic saturation.
Ditch the ready-made social media filters that turn skin tones orange or skies an artificial green. Instead, download free, professional mobile editing apps like Adobe Lightroom Mobile or Snapseed.
When editing, focus on these basic adjustments:
-
Contrast and Shadows: Slightly boost shadows to recover details lost in dark areas, or tweak the contrast to add depth.
-
Clarity and Sharpness: Bring up the clarity slightly to emphasize textures (like stone, fabrics, or architecture), but use it sparingly on portraits to avoid accentuating skin blemishes.
-
Cropping: Use the crop tool to eliminate distracting elements at the edges of your frame or to re-center your subject if your original composition wasn’t perfect.
Conclusion
Smartphone photography has completely democratized visual art. You don’t need to carry pounds of expensive equipment to document the world beautifully. By implementing simple habits—like keeping your lens clean, chasing the best natural light, controlling focus manually, and applying the rule of thirds—your visual work will instantly level up.
Remember, photography is a hands-on skill. The more you train your eye to look past the obvious and experiment with new perspectives, the more natural these concepts will become to you. Grab your phone, step outside, and start practicing today!
Frequently Asked Questions (FAQ)
Are photos taken in Portrait Mode always better?
Not necessarily. Portrait Mode is fantastic for isolating a subject and creating that cinematic, blurry background effect (bokeh). It works beautifully for people, pets, and clearly defined objects. However, for landscape or architecture photography where the background provides vital context, you should avoid Portrait Mode to keep the entire scene sharp.
Does a 108 MP camera take better photos than a 12 MP camera?
Do not let high megapixel numbers mislead you. More megapixels simply mean the image file will be larger, allowing you to crop in or print large formats without losing definition. Actual image quality depends on the physical size of the camera sensor, the quality of the lens glass, and the image processing software. A 12 MP camera with a superior sensor will frequently take better photos than a 108 MP camera with a tiny sensor.
How do I take sharp photos at night with my phone?
To take crisp photos in low light, turn on your phone’s Night Mode. This setting takes multiple exposures over a few seconds to gather as much light as possible. The absolute key here is stability: keep your hands as steady as possible, brace your elbows against your body, or use a small smartphone tripod. Any movement while Night Mode is processing will result in a blurry photo.