
Natural Light Photography: How to Take Amazing Outdoor Photos
Natural Light Photography: Outdoor Shooting Guide
Light is the single most important element in any photograph. In fact, the word “photography” literally means “drawing with light.” While flashes and studio strobes offer complete control, nothing quite matches the beauty, versatility, and sheer realism of natural light.
Shooting outdoors using only the sun is both a liberating and challenging experience. Nature provides us with endless variations of colors, contrasts, and intensities throughout the day. However, because we cannot control the sun, we must learn to adapt to it.
In this comprehensive guide, you will discover how to read sunlight, take advantage of the best times of day to shoot, and apply practical techniques to transform your outdoor photos into true works of art—whether you are a beginner with a smartphone or a professional with a DSLR.
Why Natural Light is the Best Gear You Already Have
Many beginners believe they need to spend thousands of dollars on artificial lighting equipment to achieve professional-grade photos. The truth is, the sun is the most powerful, beautiful, and dynamic light source in existence—and best of all, it is entirely free.
Natural light has a unique three-dimensional quality. It interacts with the environment organically, creating soft shadows, reflecting off water, and bringing out the textures of elements like leaves, stones, and fabrics. Furthermore, shooting with natural light requires less heavy equipment, allowing you to move around freely and focus on what truly matters: composition, framing, and connecting with your subject.
The Golden Hour: The Holy Grail of Photography
If you ask any landscape or portrait photographer about their favorite time to shoot, the answer will be unanimous: the Golden Hour.
What is the Golden Hour?
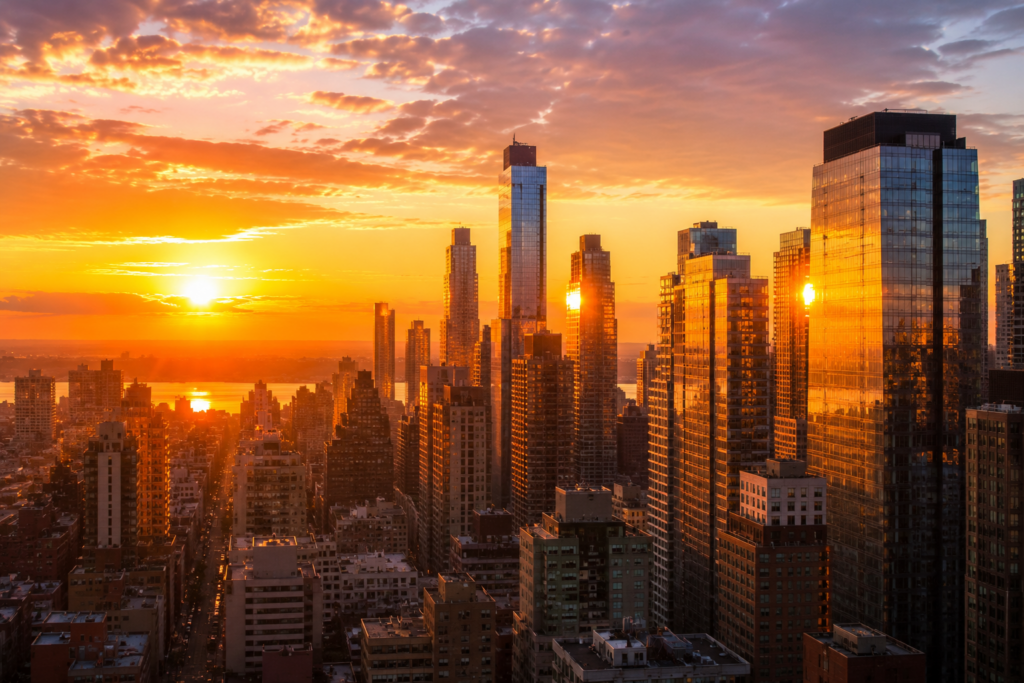
The Golden Hour occurs twice a day: during the first hour right after sunrise and the last hour right before sunset. During these times, the sun is very low on the horizon. This forces the sun’s rays to travel through a thicker layer of the Earth’s atmosphere, which scatters blue and violet light and allows only warm tones—such as reds, oranges, and deep yellows—to pass through.
Benefits of Shooting During the Golden Hour
-
Soft and Directional Light: Since the sun is low, the light does not come from directly above (which causes dark undereye shadows on models). Instead, it hits from the side, creating long, soft, and dramatic shadows that enhance depth and dimension.
-
Warm and Welcoming Tones: The golden color temperature lends a magical, nostalgic, and highly appealing atmosphere to both portraits and landscapes.
-
Easier Exposure: The contrast between bright highlights and dark shadows is much lower than at noon, making it far easier for your camera’s sensor to capture the entire scene.
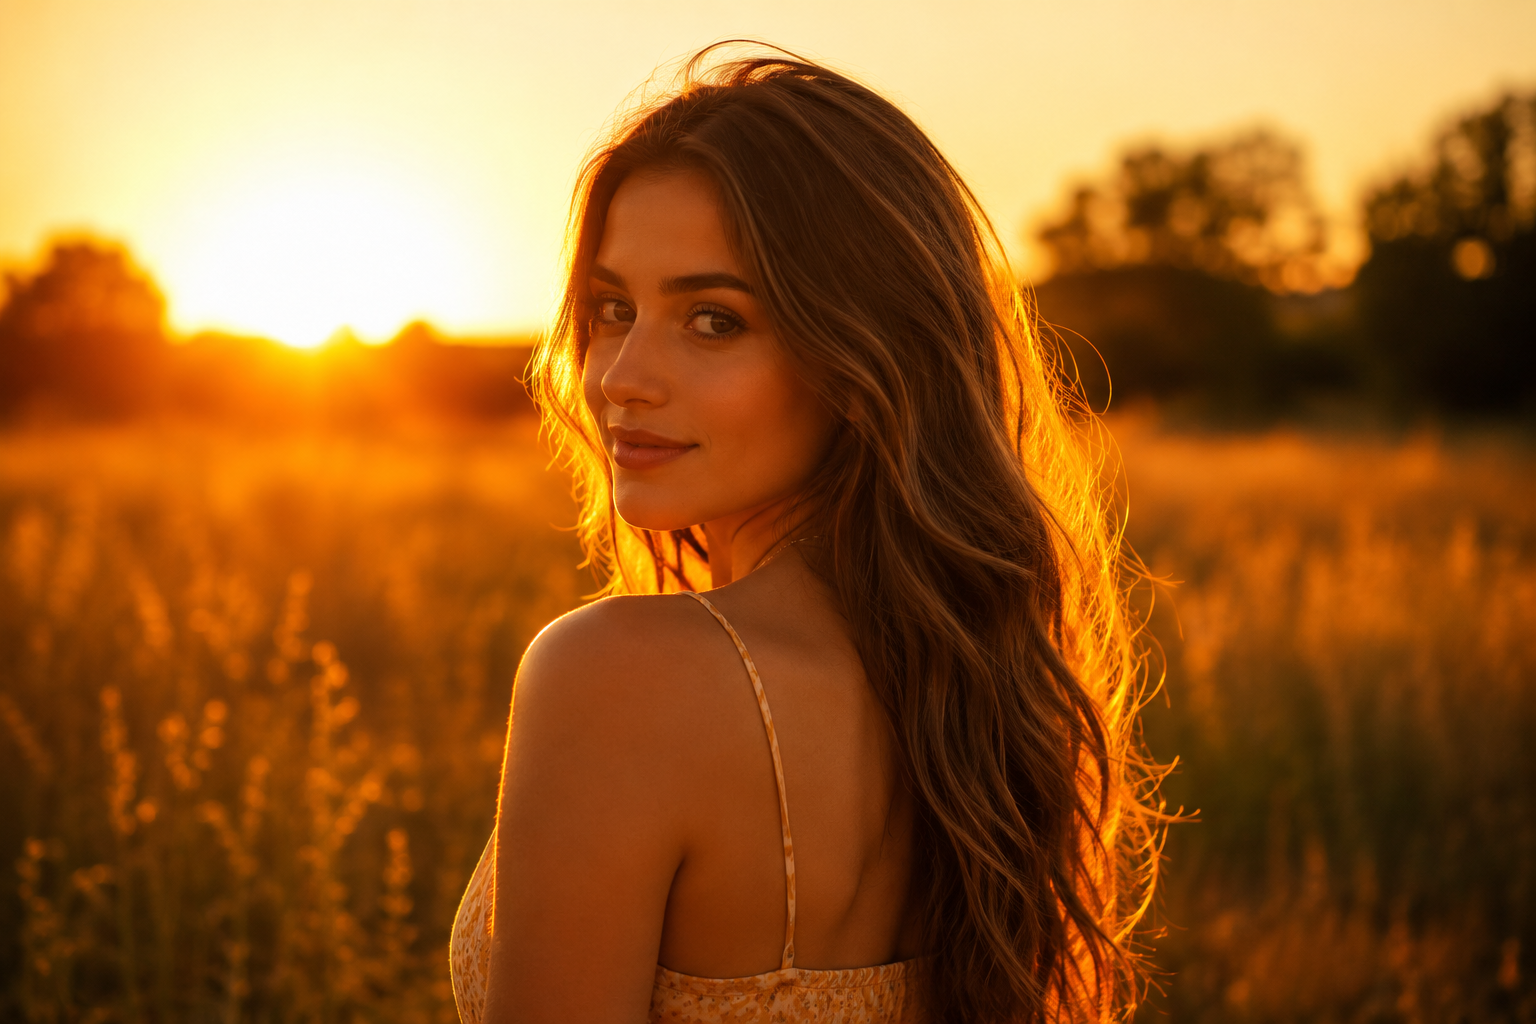
Golden Tip: Try positioning your subject with their back to the sun during the Golden Hour. This will create a beautiful “rim light” effect on their hair, making them pop right off the background.
The Blue Hour and the Magic of Twilight
Right after the afternoon Golden Hour, once the sun has completely dipped below the horizon, a short and often overlooked window of time begins: the Blue Hour.
Though it only lasts about 20 to 40 minutes, this period offers a unique, mysterious, and cool atmosphere. The sky takes on a deep, saturated dark blue hue, while the horizon still retains a faint red or golden gradient.
How to Make the Most of the Blue Hour
The Blue Hour is ideal for urban landscapes and cityscape photography, as it blends the natural light of the sky with artificial city lights (like streetlamps and glowing office windows). The combination of the cool blue sky with the warm yellow artificial lights creates a perfect complementary color contrast that is highly eye-catching.
Since the amount of available light is very low during this time, use a sturdy tripod and lower your shutter speed to avoid blurry photos or excessive image noise caused by high ISO settings.
How to Shoot Under the Midday Sun (Harsh Light)
One of the biggest mistakes beginner photographers make is assuming that a bright, cloudless, sunny day at noon is the perfect time to shoot. In reality, this is the most difficult light to work with, commonly known as harsh light.
When the sun is directly overhead, it casts vertical, dark, and hard shadows beneath your subject’s eyes, nose, and chin (often called the “raccoon eye” effect). However, if you have to shoot during these hours, do not worry. There are excellent techniques to overcome this:
| Technique | How It Works | Practical Result |
| Find Open Shade | Place your subject under the shadow of a tree, building, or awning. | Prevents harsh shadows on the face and provides smooth, even lighting. |
| Use a Diffuser | Hold a diffuser panel (or even a white translucent umbrella) between the sun and your subject. | Softens direct sunlight, acting like a portable, artificial cloud. |
| Shoot from Different Angles | Have your subject look up slightly, or tilt your camera upward. | Fills in the dark shadows under the eyes by illuminating the face completely. |
| Use Fill Flash | Fire a low-power flash toward your subject. | Helps fill in and brighten the dark shadows caused by the high midday sun. |
Overcast Days: Nature’s Giant Diffuser
Many people pack away their cameras when the sky turns gray and overcast, thinking it is a “bad” day for photos. This is a massive misconception. For portraits and close-up details (macro photography), a cloudy day is practically a gift from above.
The clouds act as a massive studio softbox. They scatter sunlight in every direction, completely eliminating harsh shadows and extreme contrast.
Benefits of Shooting on Overcast Days
-
Highly Saturated Colors: Without the intense glare of direct sunlight, the natural colors of flowers, clothing, and landscapes appear richer, deeper, and far more saturated.
-
No Squinting: Your subjects won’t have to squint or strain their eyes due to blinding brightness.
-
Consistent Lighting: You won’t have to constantly change your camera settings every minute due to shifting sunlight.
Natural Light Photography: The Importance of Light Direction
Finding good light is only half the battle; you must also understand how its direction relative to your subject changes the mood and aesthetic of your photo.
Front Lighting (The Sun is Behind the Photographer)
In this setup, the sun directly illuminates the front of your subject. This is a very safe, easy-to-expose light, perfect for capturing crisp details and vibrant colors. The downside is that because it creates almost no visible shadows, the image can look a bit flat and lacking in depth.
Side Lighting (The Sun is Beside the Subject)
Side lighting is excellent for adding volume and dimension. It illuminates one half of your subject while casting the other half into soft shadow. This transition highlights textures, shapes, and curves, making it ideal for dramatic portraits and outdoor architectural photography.
Backlighting (The Sun is Behind the Subject)
This is one of the most artistic and beautiful techniques. By shooting directly toward the sun, you can create striking silhouettes (by exposing for the bright background) or capture a gorgeous, glowing halo around your subject, creating an ethereal and romantic feel.
Simple Gear and Accessories That Make a Difference
While you do not need much to shoot with sunlight, a few affordable and portable accessories in your backpack can dramatically elevate your image quality:
-
5-in-1 Reflector: An inexpensive, collapsible, and essential tool. It allows you to bounce sunlight to fill in shadows (using the silver or white side), warm up the image (golden side), or diffuse direct sun (the translucent panel).
-
Lens Hood: That small plastic cup that attaches to the front of your lens. It blocks stray light from entering your lens from the sides, preventing unwanted flare and loss of contrast.
-
Polarizing Filter: Outstanding for daytime landscape photography. It reduces reflections on non-metallic surfaces (like water and wet leaves) and significantly deepens the blue of the sky.
Natural Light Photography- Conclusion
Mastering natural light photography is not about owning the most expensive gear; it is about developing your eye. It is about learning to observe how light behaves throughout the day, how it interacts with the environment, and how to use those changes to tell your story.
The best way to master this art is through constant practice. Head outside at different times of day, study the shadows, experiment with angles, and do not be afraid to make mistakes. Over time, reading natural light will become second nature, and your outdoor photos will never be the same.
Natural Light Photography- Frequently Asked Questions (FAQ)
When is the best time to take portraits of people outdoors?
The best times are during the Golden Hour (early morning and late afternoon), when the light is softest, warmest, and most flattering for skin tones. Overcast days are also excellent because they provide diffuse, even light without harsh facial shadows.
How do I take good photos in bright sunlight without people squinting?
The easiest solution is to move your subject into open shade (under a tree or next to a building). If shade isn’t available, use a translucent reflector to cast a shadow over their face, or shoot backlit with the sun behind them.
Do I need a professional camera to shoot with natural light?
Not at all. Modern smartphones and compact cameras are fully capable of capturing spectacular photos using natural light. The secret lies in how you position yourself relative to the light source and how you utilize shadows, not the complexity of your gear.
How can I avoid overexposed (too bright) photos in the midday sun?
You can lower your camera sensor’s sensitivity by setting your ISO to its lowest value (usually ISO 100), increasing your shutter speed, or narrowing your lens aperture (higher f-stop). Another highly effective option is using a Neutral Density (ND) filter, which acts like sunglasses for your camera lens.