
Complete Guide to Landscape Photography: How to Capture Breathtaking Scenery
Landscape Photography: How to Capture Breathtaking Scenery
There is something deeply magical about gazing at the horizon and witnessing the grandeur of nature. Whether it is a mist-covered mountain peak, the force of a waterfall hidden in the forest, or the vast and silent desert under twilight, the Earth offers us daily spectacles. However, anyone who has ever tried to record these moments knows that there is a gulf between what our eyes see and what the camera captures. Often, a scene that felt overwhelming in person transforms into a flat, lifeless, and dull image on a computer or phone screen.
Landscape photography is the art of translating the tridimensionality, atmosphere, and emotion of an open space into a two-dimensional medium. It is not just about pointing the lens at a beautiful tree and pressing the shutter button; it requires patience, meticulous planning, technical mastery of the equipment, and a sharp sensitivity to read the light. This practical and informative guide was developed to demystify the process behind great images and provide the necessary knowledge for you to capture truly breathtaking scenery.
1. The Essential Gear: What to Pack in Your Photography Bag
A common mistake among beginners is believing that extraordinary photos require the most expensive cameras on the market. The truth is that the photographer’s eye and technical knowledge are far more important than the camera body. However, landscape photography has specific demands that require the right tools to ensure sharpness and dynamic range.
Choosing the lens is the first crucial step. Traditionally, wide-angle lenses (between 14mm and 24mm on Full Frame sensors) are the favorites, as they offer an expanded field of view that allows for the inclusion of vast skies and dramatic foreground elements. However, do not underestimate telephoto lenses (such as 70-200mm). They are excellent for compressing perspective, isolating distant details on mountains, or creating abstract compositions with layers of hills and trees.
Besides the camera and lenses, the most indispensable accessory is a sturdy tripod. Because landscape photography frequently happens in low-light conditions (dawn and dusk) and requires closed aperture settings for greater sharpness, shutter speeds tend to be slow. Any minimal hand vibration will destroy the fine details of the image. A good tripod guarantees absolute stability, also allowing for the exploration of advanced techniques such as long exposure.
2. The Ideal Lighting: Mastering the Golden Hour and the Blue Hour
In photography, light is everything. In landscape photography, where we have no control over lighting sources, learning to read and anticipate natural light is the game-changer between amateurism and professionalism. The midday sun, with its vertical and intense light, creates harsh, pitch-black shadows, blows out highlights, and fades the natural colors of vegetation. For this reason, experienced landscape photographers usually avoid this period.
“The right light transforms an ordinary scene into a living painting. Patience to wait for the exact moment is a nature photographer’s greatest virtue.”
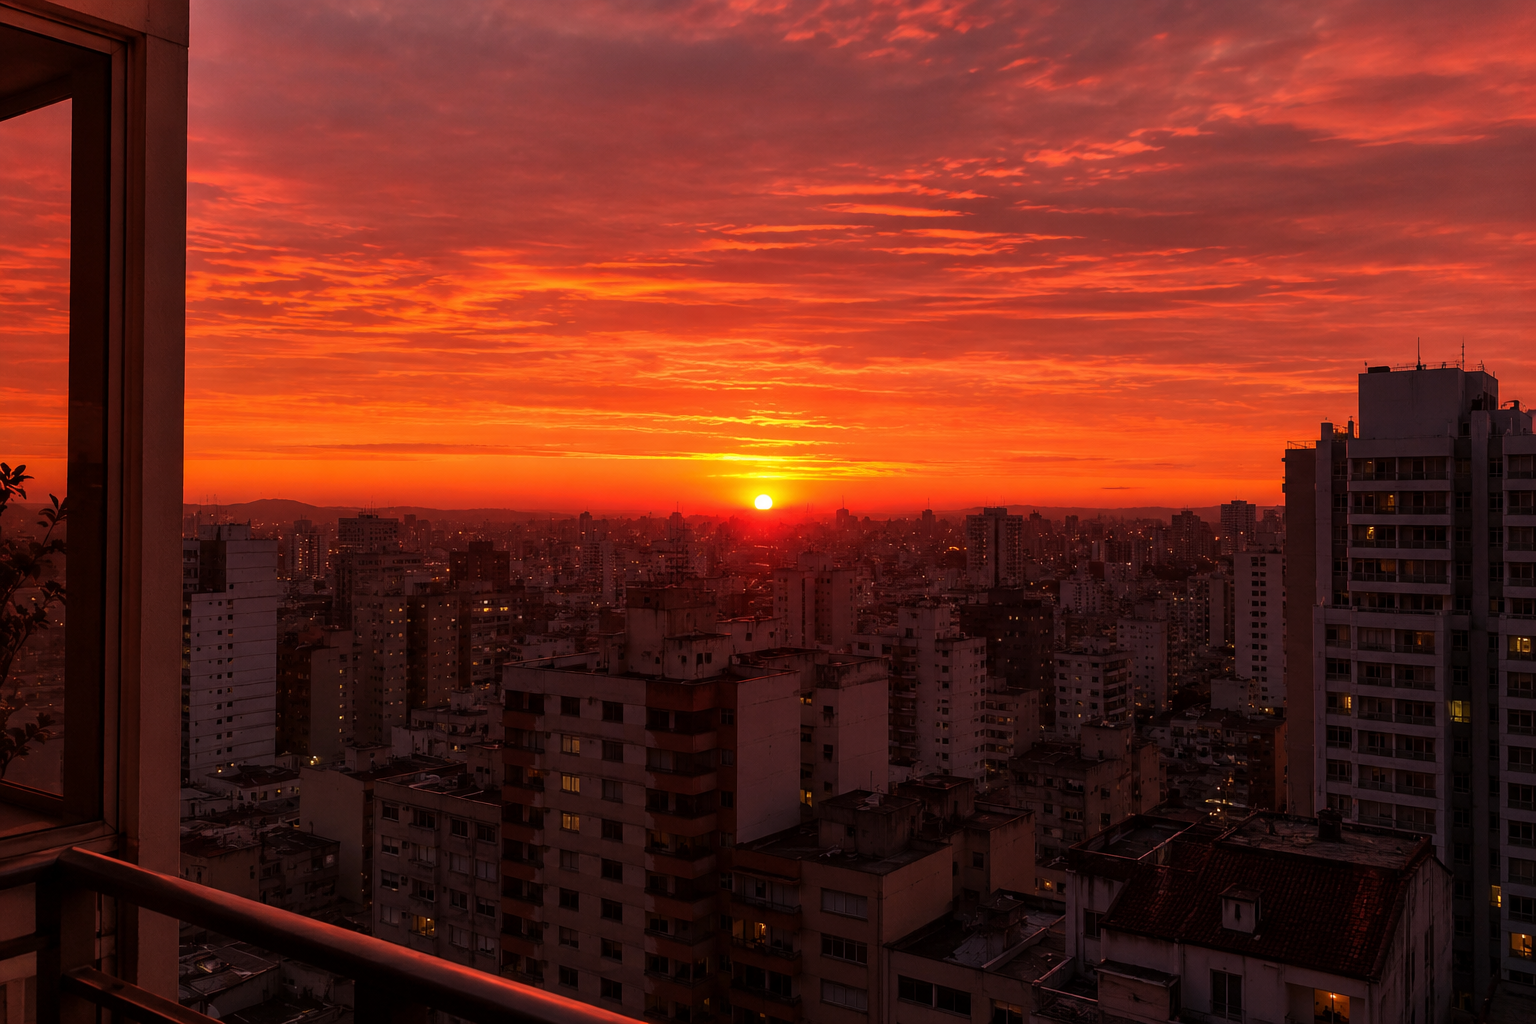
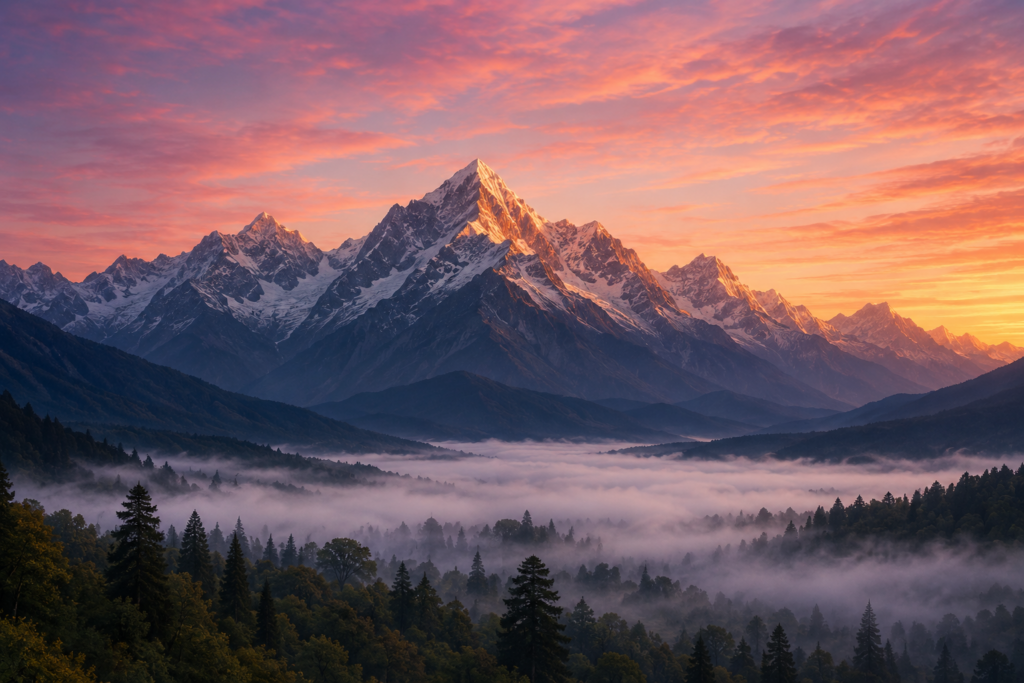
The golden moments of photography occur during the so-called Golden Hour. It happens during the first hour right after sunrise and the last hour before sunset. In this interval, the sun is low on the horizon, which means light must pass through a thicker layer of the Earth’s atmosphere, becoming diffused, soft, and predominantly warm (tones of yellow, orange, and red). The cast shadows are long and soft, accentuating the textures of the terrain and adding natural three-dimensional depth to the scene.
Immediately before sunrise or right after sunset, we enter the Blue Hour. During this brief period, the sky takes on a deep, saturated blue hue, with hints of pink and purple on the horizon line. The lighting is extremely uniform and cool, giving landscapes a serene, mystical, and melancholic atmosphere. It is the perfect time to capture calm water surfaces, which perfectly reflect the soft gradients of the twilight sky.
3. Composition Rules That Transform Ordinary Photos into Works of Art
Composition is how you organize the visual elements within your photo’s frame. It is through composition that you guide the viewer’s eyes and tell a story about the place. Without a clear compositional structure, anyone looking at your photo might feel lost, not knowing where to look first.
The Rule of Thirds and Leading Lines
The Rule of Thirds is an excellent starting point. Mentally divide your image into a 3×3 grid with two vertical and two horizontal lines. Position the most important elements of the landscape—such as a mountain peak, an isolated tree, or the horizon line—along these lines or at the points where they intersect. Avoid placing the horizon exactly in the middle of the photo, unless you are seeking perfect symmetry in a reflection on water. If the sky is dramatic, give it two-thirds of the frame; if the ground has more interest, prioritize the lower section.
Leading lines are natural or artificial vectors within the landscape that guide the viewer’s gaze toward the main focal point. Winding rivers, deserted roads, fences, trails, or even the crest of a sand dune work incredibly well. When positioned starting from one of the bottom corners and cutting diagonally through the image, they create an irresistible sense of movement and dynamism.
Foreground Elements (Foreground Depth)
Because landscapes are vast, photographing them from afar can make everything look flat. The solution to creating a real sense of scale and depth is to include an element of strong interest in the foreground (close to your lens). It could be a textured rock, a cluster of wild flowers, fallen logs, or puddles of water. This element anchors the image, giving the viewer a visual entry point before their eyes travel toward the mountains or the background of the scene.
4. Camera Settings and the Exposure Triangle for Landscapes
To obtain perfectly sharp images from front to back, you need to master manual mode or your camera’s aperture priority mode (A/Av). The main goal in classic landscape photography is to keep most of the scenery in sharp focus, which requires specific adjustments to the exposure triangle (ISO, Aperture, and Shutter Speed).
| Parameter | Recommended Setting | Main Objective |
| ISO |
As low as possible (ISO 100) |
Guarantee maximum image quality, sharpness, and a total absence of digital noise. |
| Aperture (f/) |
Between f/8 and f/11 |
Achieve a deep depth of field without entering the lens’s diffraction zone. |
| Speed |
Variable (depending on light and tripod) |
Adjusted last to balance the exposure. Long speed to smooth out water and clouds. |
A frequent mistake is closing the aperture to the lens’s maximum value (such as f/22) thinking it will bring even more sharpness. In reality, extreme apertures cause a physical phenomenon called optical diffraction, which softens the fine details of the image. Stay in your lens’s “sweet spot”, usually between f/8 and f/11. Furthermore, always configure your camera to shoot in RAW format. Unlike JPEG, a RAW file preserves all the pure data captured by the sensor, allowing you to recover dark shadows and blown-out highlights during editing without losing quality.
5. Planning is Everything: Weather Forecasting and Useful Apps
Many of the most spectacular landscape photos we see online are not the result of chance or pure luck. They are the outcome of meticulous strategic planning. A landscape photographer needs to become, to some extent, an amateur meteorologist.
Before leaving home, thoroughly research the geographical location. It is essential to know exactly where the sun will rise and set in relation to the scenery you want to photograph. Fortunately, modern technology has immensely eased this task. Specialized applications like PhotoPills or The Photographer’s Ephemeris use maps and augmented reality to show the exact path of the sun, the moon, and even the Milky Way anywhere on the planet and on any date of the year.
Additionally, learn to love “bad weather”. Completely blue and cloudless skies tend to be visually monotonous in landscape photography. Transitioning stormy days, partially cloudy skies, morning fog, and cold fronts are a photographer’s best friends. They add drama, contrast, heavy textures, and a unique atmosphere that makes the final image truly impactful and memorable.
6. Revealing the Maximum Potential: Basic Post-Processing Tips
A landscape photographer’s work does not end when they pack their camera back into the bag. Editing (or post-processing) is a fundamental and historic step in the photographic process—even in the analog era, photographers spent hours manipulating prints in the darkroom. The goal of editing should not be to create a fake or artificial reality, but rather to enhance what was already there and bring back the emotion felt at the moment of the click.
When opening your RAW file in software like Adobe Lightroom or Camera Raw, start by correcting basic lens distortions and leveling the horizon (a crooked horizon instantly ruins a good photo). Next, adjust the white balance to faithfully translate the warmth of dawn or the cold of twilight. Use the highlights and shadows controls in a balanced way to expand the image’s dynamic range, bringing out details that were hidden in the dark areas of vegetation or bright clouds.
Finally, use local adjustment tools (like graduated filters and brushes) to guide the viewer’s eye subtly. A slight increase in sharpness and clarity in the textures of rocks in the foreground or a soft increase in contrast in the sky can drastically transform the visual impact of your photography, maintaining the natural and organic look of the scene.
Landscape Photography- Conclusion
Landscape photography is a continuous journey of learning, connecting with nature, and self-discovery. It forces us to slow down in a hyper-connected world, to observe the subtleties of changing seasons, and to value patience. Capturing a breathtaking scenery requires technical and physical dedication, but the reward of eternalizing the beauty of our planet in a static image is incomparable.
Remember that the rules presented in this guide serve as structural foundations, but creativity has no limits. Practice with the gear you have in hand today, explore your local surroundings, and do not be discouraged by unfavorable weather days. With persistence and by applying the concepts of composition and natural light, your photos will begin to convey the true grandeur of terrestrial landscapes.
Landscape Photography- Frequently Asked Questions (FAQ)
1. Do I need a professional Full Frame camera to start in landscape photography?
No. Although Full Frame sensors offer better dynamic range and low-light performance, cameras with cropped sensors (APS-C) or even modern smartphones with manual controls are perfectly capable of capturing beautiful landscapes. Mastering composition and natural light matters far more than the price tag of your gear.
2. What is the best type of filter to invest in first?
The most indispensable filter to start with is the Circular Polarizer (CPL). It reduces unwanted reflections on water surfaces and leaves, increases the natural contrast of the sky, and saturates vegetation colors organically—something that is impossible to replicate faithfully in post-processing editing software.
3. How can I prevent my landscape photos from being blurry or shaky?
To ensure total sharpness, always use a steady tripod, turn off the lens’s image stabilization when it is mounted on the tripod, and use a remote shutter release or the camera’s internal timer (set to 2 or 5 seconds). This avoids the micro-vibrations caused by your finger touching the shutter button.
4. What is hyperfocal distance and why is it important?
Hyperfocal distance is the ideal focus point that maximizes the depth of field in your image. By focusing at this specific mathematical distance (which varies depending on the lens and aperture), you ensure that everything from half that distance all the way to infinity on the horizon remains acceptably sharp in your photograph.