
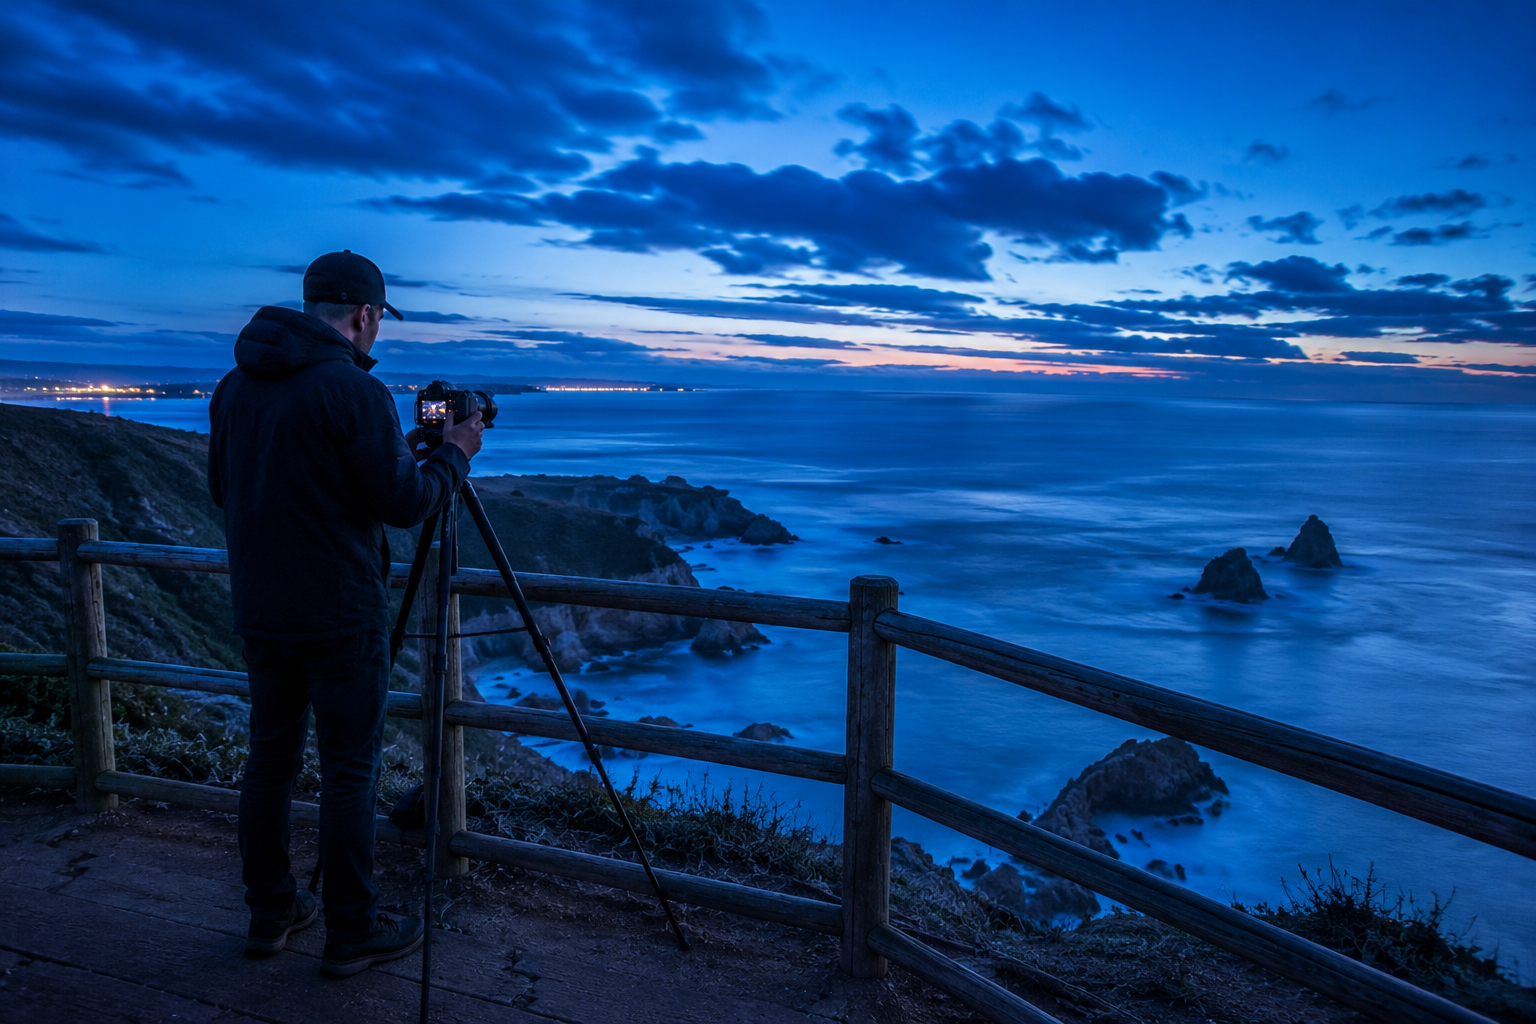
Night Photography: Essential Settings and Techniques for Sharp Images
When the sun sets and twilight fades, the world transforms. Cities light up with vibrant neon hues, starry skies reveal distant galaxies, and quiet landscapes take on an atmospheric, mysterious beauty. For photographers, shooting after dark presents incredible creative opportunities. However, low-light photography also introduces one of the most frustrating technical challenges in digital imaging: capturing clean, razor-sharp photos when light is severely limited.
Under low-light conditions, standard automatic camera settings frequently fail. Images often turn out blurry, grainy with digital noise, or improperly exposed. Achieving crisp night shots requires moving away from automation and taking deliberate manual control of your camera. This guide covers the essential settings, gear strategies, and focusing techniques needed to capture sharp, noise-free night photographs consistently.
Understanding the Exposure Triangle for Night Photography
Every digital photograph relies on the exposure triangle: aperture, shutter speed, and ISO. During the day, ambient light is abundant, allowing you to shoot handheld at fast shutter speeds without worrying about motion blur or excessive noise. At night, however, light becomes a scarce resource, forcing you to adjust these three parameters in precise balance.
Aperture controls the physical opening in your lens, determining how much light reaches the sensor while dictating depth of field. Shutter speed controls how long the sensor is exposed to light, balancing exposure against motion blur. ISO measures the sensor’s sensitivity to light, amplifying the electronic signal at the cost of introducing digital noise.
In night photography, you cannot simply raise your ISO to maximum or open your aperture to its widest setting without consequences. Opening a lens to wide apertures like f/1.4 or f/1.8 gathers light quickly, but reduces depth of field and can introduce optical aberrations like corner softness. Raising ISO brightens the image, but degrades dynamic range and introduces unwanted grain. Balancing these three variables requires a structured approach tailored to your specific subject.
Essential Equipment for Sharp Night Photography
While creative skill matters most, low-light photography is inherently bound by equipment physics. Having the right tools ensures that your camera remains completely motionless during long exposures.
-
Sturdy Tripod: A high-quality, stable tripod is the non-negotiable foundation of sharp night photography. Flimsy tripods flex under wind or shutter vibration, ruining long exposures. Look for aluminum or carbon fiber tripods with secure leg locks and a solid ball head.
-
Fast Prime or Zoom Lenses: Lenses with wide maximum apertures—such as f/1.8, f/2.8, or wider—allow maximum light transmission. Wide-angle lenses are particularly popular for night cityscapes and astrophotography because they accommodate longer exposures before star trailing occurs.
-
Remote Shutter Release or Intervalometer: Pressing the camera’s physical shutter button introduces micro-vibrations that cause blur. A cable release, wireless remote, or built-in exposure timer isolates your hands from the camera body.
-
Lens Hood and Cleaning Cloth: Lens hoods block stray ambient light from streetlamps, preventing lens flare. A microfiber cloth is essential to wipe away condensation that frequently settles on glass elements during cold late-night outdoor shoots.
Dialing in Key Camera Settings: Aperture, ISO, and Shutter Speed
To take full control of your exposure, switch your camera mode dial to Manual (M). Manual mode prevents your camera’s light meter from making unpredictable adjustments in dark environments.
Aperture Settings
For landscape or cityscape photography where sharp foregrounds and backgrounds are essential, set your aperture between f/5.6 and f/11. This range represents the optical “sweet spot” for maximum sharpness on most lenses. If you are photographing stars or the Milky Way, open your aperture fully (such as f/1.4 to f/2.8) to collect as much faint starlight as possible.
Shutter Speed Selection
Because your camera is mounted on a sturdy tripod, you can extend your shutter speed from several seconds to a few minutes. For city scenes at night, shutter speeds between 2 seconds and 15 seconds allow light to accumulate without overexposing bright neon signs or streetlights.
ISO Management
Keep your base ISO as low as possible—ideally between ISO 100 and ISO 400—to maximize dynamic range and minimize digital noise. If your scene involves moving subjects or night sky photography where short shutter speeds are mandatory, raise ISO incrementally (ISO 1600 to ISO 6400) while monitoring noise levels.
RAW File Format
Always shoot in RAW rather than JPEG. RAW files preserve uncompressed sensor data, giving you crucial latitude in post-processing to recover shadow detail, control highlights, and adjust white balance accurately.
Mastering Focus in the Dark: Manual Focus and Live View
One of the most common reasons night photos turn out blurry is focus failure. In low-light conditions, camera autofocus systems struggle to detect contrast, causing the lens to “hunt” continuously or lock onto the wrong distance.
To achieve tack-sharp focus at night, switch your lens or camera body to Manual Focus (MF). Activate your camera’s Live View mode on the rear LCD screen. Find a bright point of light in your composition—such as a distant streetlight, an illuminated sign, or a bright star—and use the digital zoom function (typically 5x or 10x magnification) on the LCD screen to zoom in on that specific light source.
Once magnified, slowly turn the manual focus ring on your lens until the point of light appears as small, crisp, and sharp as possible. Once focus is locked, refrain from touching the focus ring or zooming the lens. If your camera features Focus Peaking, enable it to highlight in-focus edges with colored overlays for additional verification.
Eliminating Camera Shake and Vibration
Even when using a solid tripod, subtle vibrations can degrade edge sharpness in long-exposure images. Eliminating every source of physical movement is critical to capturing ultra-sharp results.
-
Disable Image Stabilization (IS / VR / IBIS): Optical or in-body image stabilization systems are designed to counteract handheld body tremors. When your camera is locked rigidly onto a tripod, these systems can mistakenly try to correct non-existent motion, creating subtle internal feedback vibrations that blur your shot. Turn stabilization OFF when tripod-mounted.
-
Use the Self-Timer: If you do not have a remote shutter release cable or mobile app, set your camera’s built-in self-timer to 2 seconds or 5 seconds. This delay allows any vibrations caused by your finger pressing the shutter button to dissipate before the exposure begins.
-
Lock the Mirror (DSLRs): If you shoot with a Digital Single-Lens Reflex (DSLR) camera, the mechanical movement of the internal mirror swinging upward can vibrate the sensor during shutter release. Enable “Mirror Lock-Up” mode to flip the mirror up prior to recording the exposure. Mirrorless cameras do not have internal mirrors and are naturally immune to this issue.
-
Weight Your Tripod: Many tripods feature a central hook at the base of the center column. Hang your camera bag or a small sandbag from this hook to lower the center of gravity and stabilize the setup against wind gusts.
Advanced Night Techniques: Long Exposures and Light Trails
Once you master basic exposure and focus, night photography opens the door to dynamic creative techniques that turn passing motion into artistic elements.
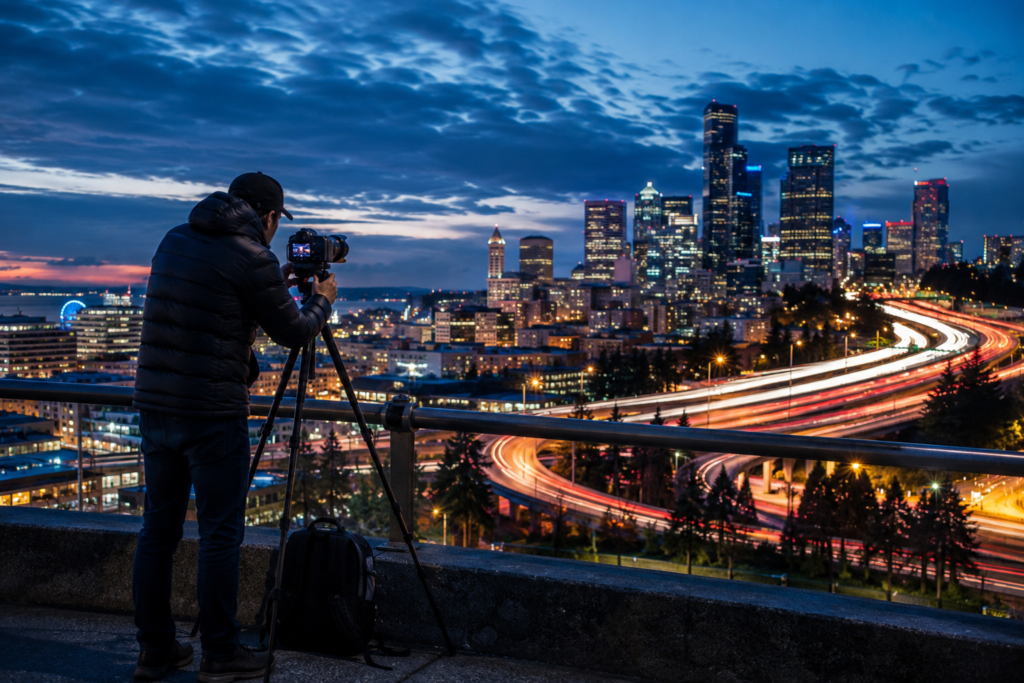
Traffic Light Trails: By extending your shutter speed to 10–30 seconds near busy roads, passing car headlights and taillights transform into vibrant, continuous ribbons of red and white light. Position your camera at an elevated angle or near a curve in the road to create leading lines that draw the viewer’s eye through the frame.
Star Trail Photography: In dark sky locations away from urban light pollution, shutter speeds lasting several minutes (or multiple stacked exposures of 30 seconds) capture the rotation of the Earth, revealing stars as circular trails around the celestial pole.
Water Smoothing: Photographing urban waterfronts or harbor reflections at night with shutter speeds over 15 seconds turns choppy water into a glassy, reflective surface, mirroring illuminated city skylines beautifully.
Post-Processing Strategies for Crisp Night Shots
Capturing a RAW file in the field is only the first step; thoughtful post-processing brings out the full brilliance of night images without compromising clarity.
-
Targeted Noise Reduction: Use editing software like Adobe Lightroom, Photoshop, or specialized noise-reduction tools to reduce luminance noise in shadow areas. Be cautious not to over-apply noise reduction, as excessive smoothing eliminates fine detail and creates a muddy texture.
-
Highlight and Shadow Recovery: Balance extreme contrast ratios by gently pulling back blown-out highlights (like bright streetlamps) and boosting shadow detail in dark foregrounds.
-
White Balance Corrections: Night scenes recorded on auto white balance often display an unappealing orange or yellow color cast from sodium-vapor streetlights. Adjust your white balance slider toward cooler kelvin temperatures (typically 3200K to 4000K) to restore natural blue tones to night skies and clean neutral tones to urban structures.
Conclusion
Night photography is a deeply rewarding artistic pursuit that transforms familiar daytime scenes into dramatic visual stories. While low-light environments present technical challenges, mastering the exposure triangle, securing your gear on a stable tripod, manually focusing with Live View, and eliminating camera vibrations guarantees sharp, professional results.
By taking control of your camera settings and practicing these fundamental techniques, you will unlock the hidden magic of the night. Grab your camera, secure your tripod, step out into the dark, and start capturing breathtaking low-light images with complete confidence.
Frequently Asked Questions (FAQ)
What is the best aperture for night photography?
For sharp cityscapes and night landscapes where depth of field is required, use apertures between f/5.6 and f/11. For astrophotography or handheld low-light portraits, use a wide aperture like f/1.8 or f/2.8 to let in maximum light.
Why are my night photos grainy?
Grain or digital noise occurs when high ISO settings amplify the sensor signal, or when shadows are underexposed and pushed too far in editing. To reduce grain, keep ISO low, use a tripod, and extend your shutter speed to gather more physical light.
How do I focus at night when autofocus isn’t working?
Switch to Manual Focus (MF), turn on Live View on your camera’s LCD screen, zoom in digitally on a bright light source (such as a streetlight or star), and manually adjust the focus ring until the point of light appears crisp and small.
Should I turn on Image Stabilization when using a tripod at night?
No, turn Image Stabilization (IS/VR/IBIS) OFF when your camera is securely mounted on a tripod. Leaving it on can cause the system to create subtle internal vibrations that reduce image sharpness during long exposures.